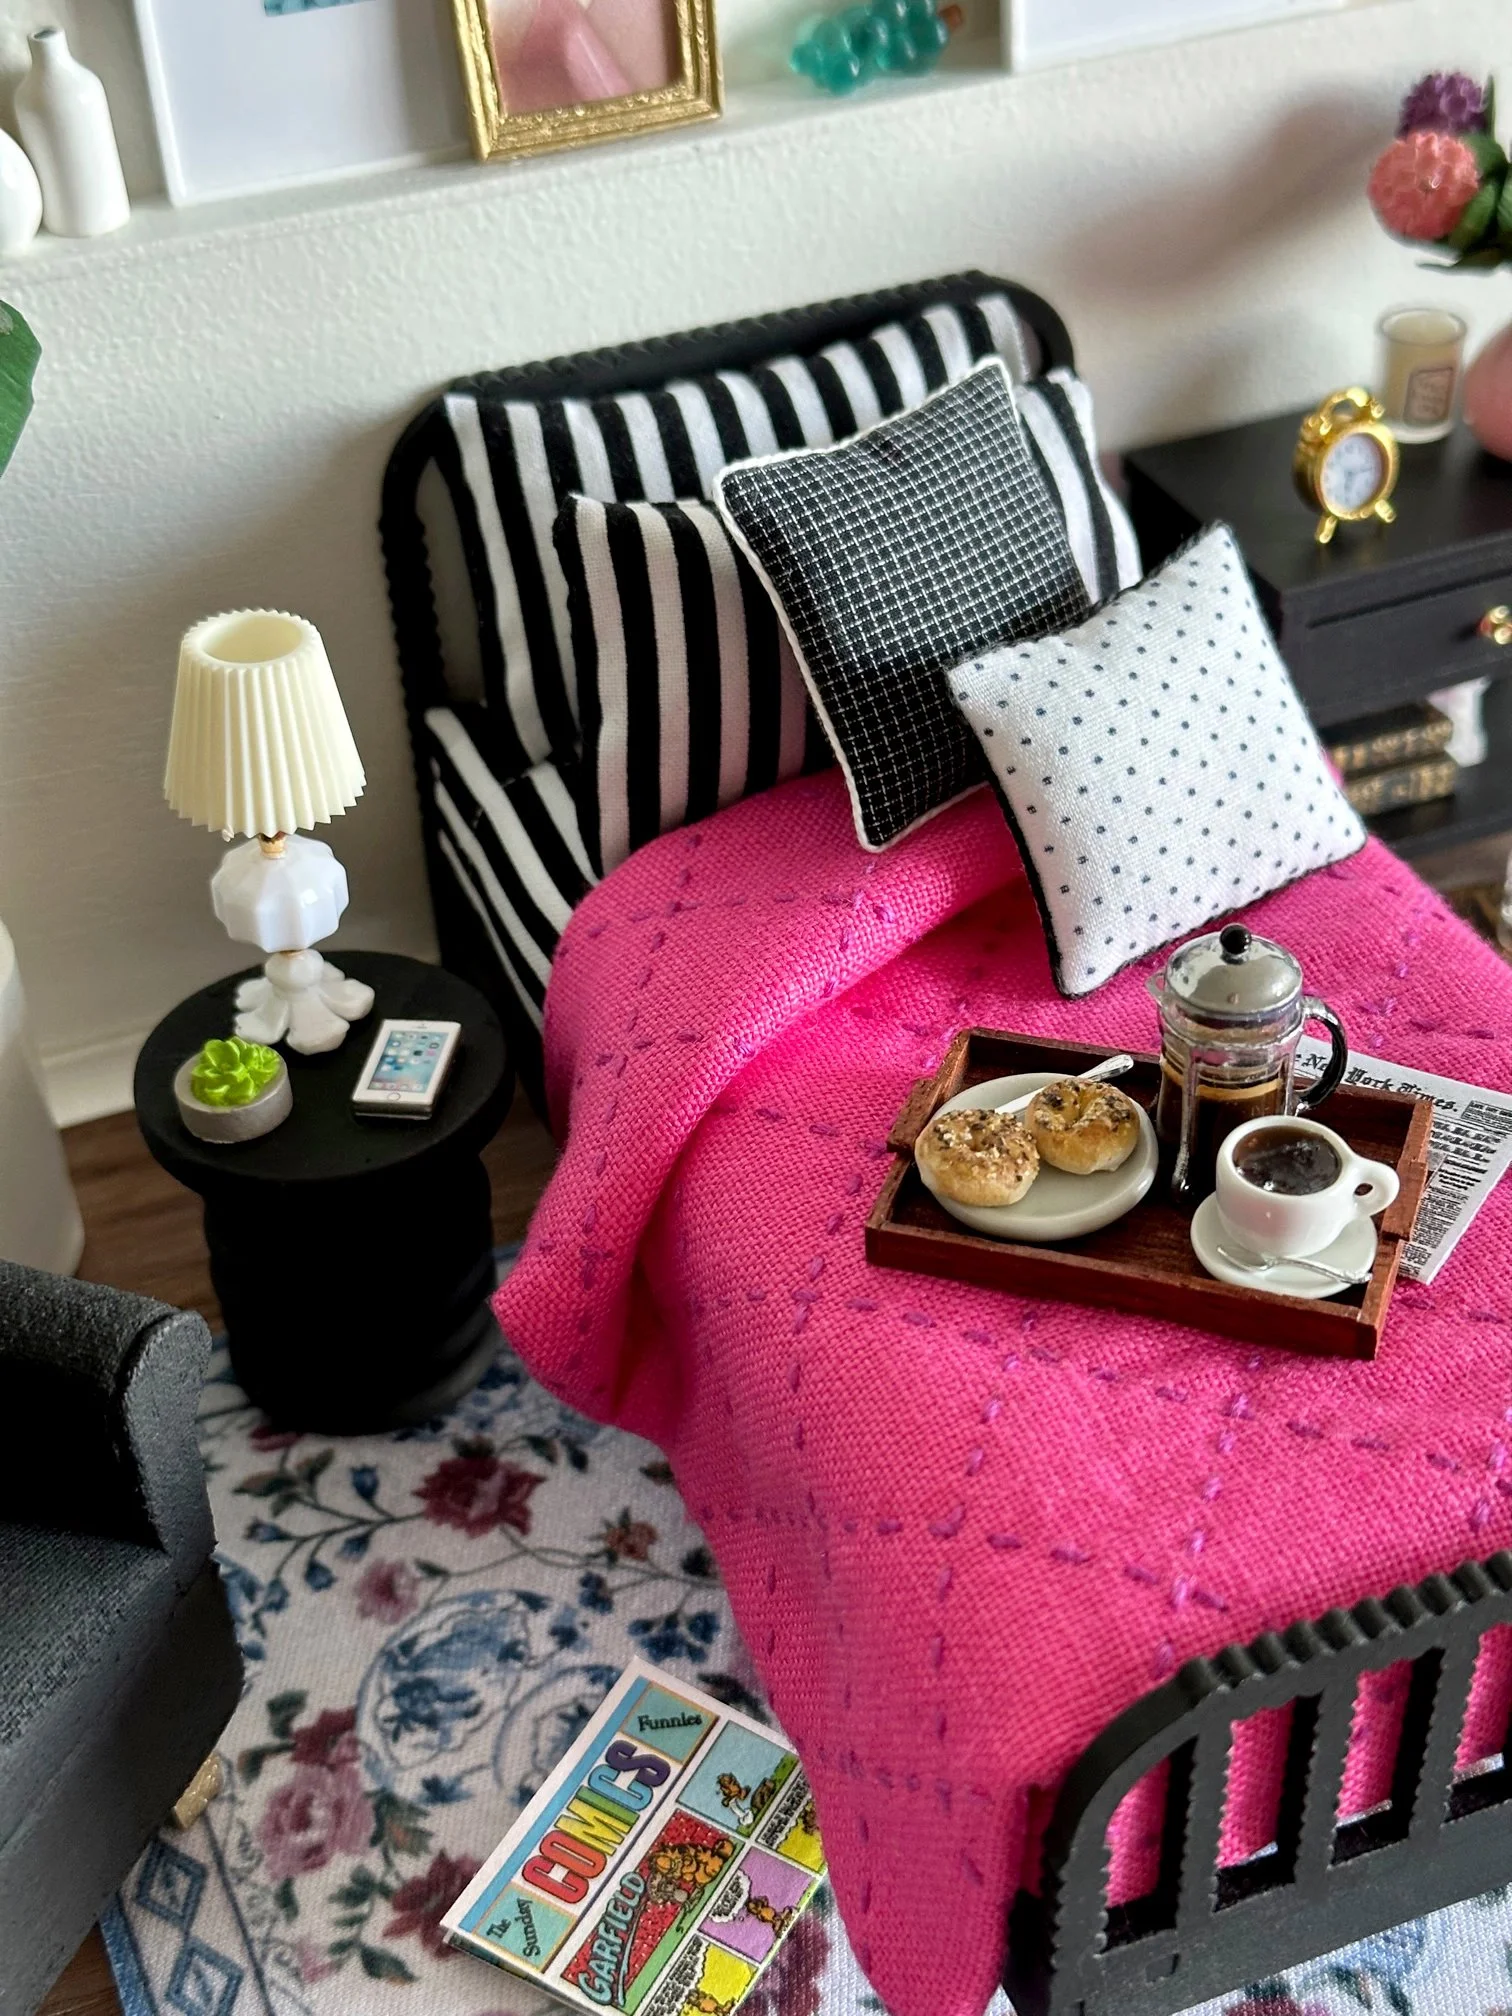
Blog

Mini Duvet featuring Sashiko

Miniatures are trendy and oh-sew cute! Let’s make a mini duvet.

And the best part, you can make this for any scale!

Here are the supplies you’ll need:

I purchased this gorgeous hot pink Medium Weight Linen Woven from Mood Fabrics. Check out their selection of colors — you could make a mini duvet for every season! Linen from Riley Blake Designs is another great option. You can purchase it from Fat Quarter Shop. A ditsy floral or equivalent small print in quilting cotton could work too. The possibilities are endless.

Here’s how to make a mini duvet:

  • Measure the width and length for the desired finished mini duvet

  • Cut 1 mini duvet top rectangle, 1 quilt batting rectangle, and 1 mini duvet back rectangle

  • Use a Pilot Frixon Pen or Hera Marker to draw the “quilting” lines on the right side of the mini duvet top

  • Set the Sashiko Stitch Length to 2 1/2 and the Stitch Spacing to 3

  • With the drawn “quilting” lines facing up, layer the mini duvet top and quilt batting together

  • Starting in one corner of the mini duvet top, “stitch / quilt” on the drawn lines

  • Repeat until all drawn lines are “stitched / quilted”

  • Press away the Pilot Frixon Pen or Hera Marker drawn lines

  • With right sides together and the quilt batting side facing up, layer the “quilted” mini duvet top and mini duvet backing

  • Using a sewing machine, reduced stitch length, and 1/4” seam allowance —stitch the layers together, stopping to create an approximate 2” opening

  • Carefully clip each corner — make sure not to clip the sewing machine stitches

  • Flip the mini duvet layers right side out and gently “push” out each corner with a point turner

  • Hand stitch or machine stitch the opening closed

  • Press the finished mini duvet

Ta-Da! Your first mini duvet! I love the beautiful texture the Sashiko stitches add. Using a solid color for the mini duvet gives you room to create lots of unique and personalized “quilting” designs.

How to determine the desired width and length for the mini duvet:

  • Measure the length of the mini duvet drop for each side of the bed

  • Measure the length to pull down at the top or tuck in at the bottom of the bed

  • Remember to add 1/4” for the seam allowance

  • If the mini duvet top comes out larger than anticipated — measure again and trim each mini duvet layer before stitching them together

My mini bed also features a sheet set and pillow cases made with Stripe Basics from Riley Blake Designs. The throw pillows were made by miniature artisan Carol Moore. The bed frame and nightstand are both part of kits designed by Kristine Hanna of Paper Doll Miniatures for Miniatures.com.

Go ahead — make a mini duvet today! Looking for more Sashiko Machine projects? Check out what’s available at BabyLock by clicking HERE.

cut, sew, repeat…

the tattooed quilter