Blog

Mini Duvet featuring Sashiko

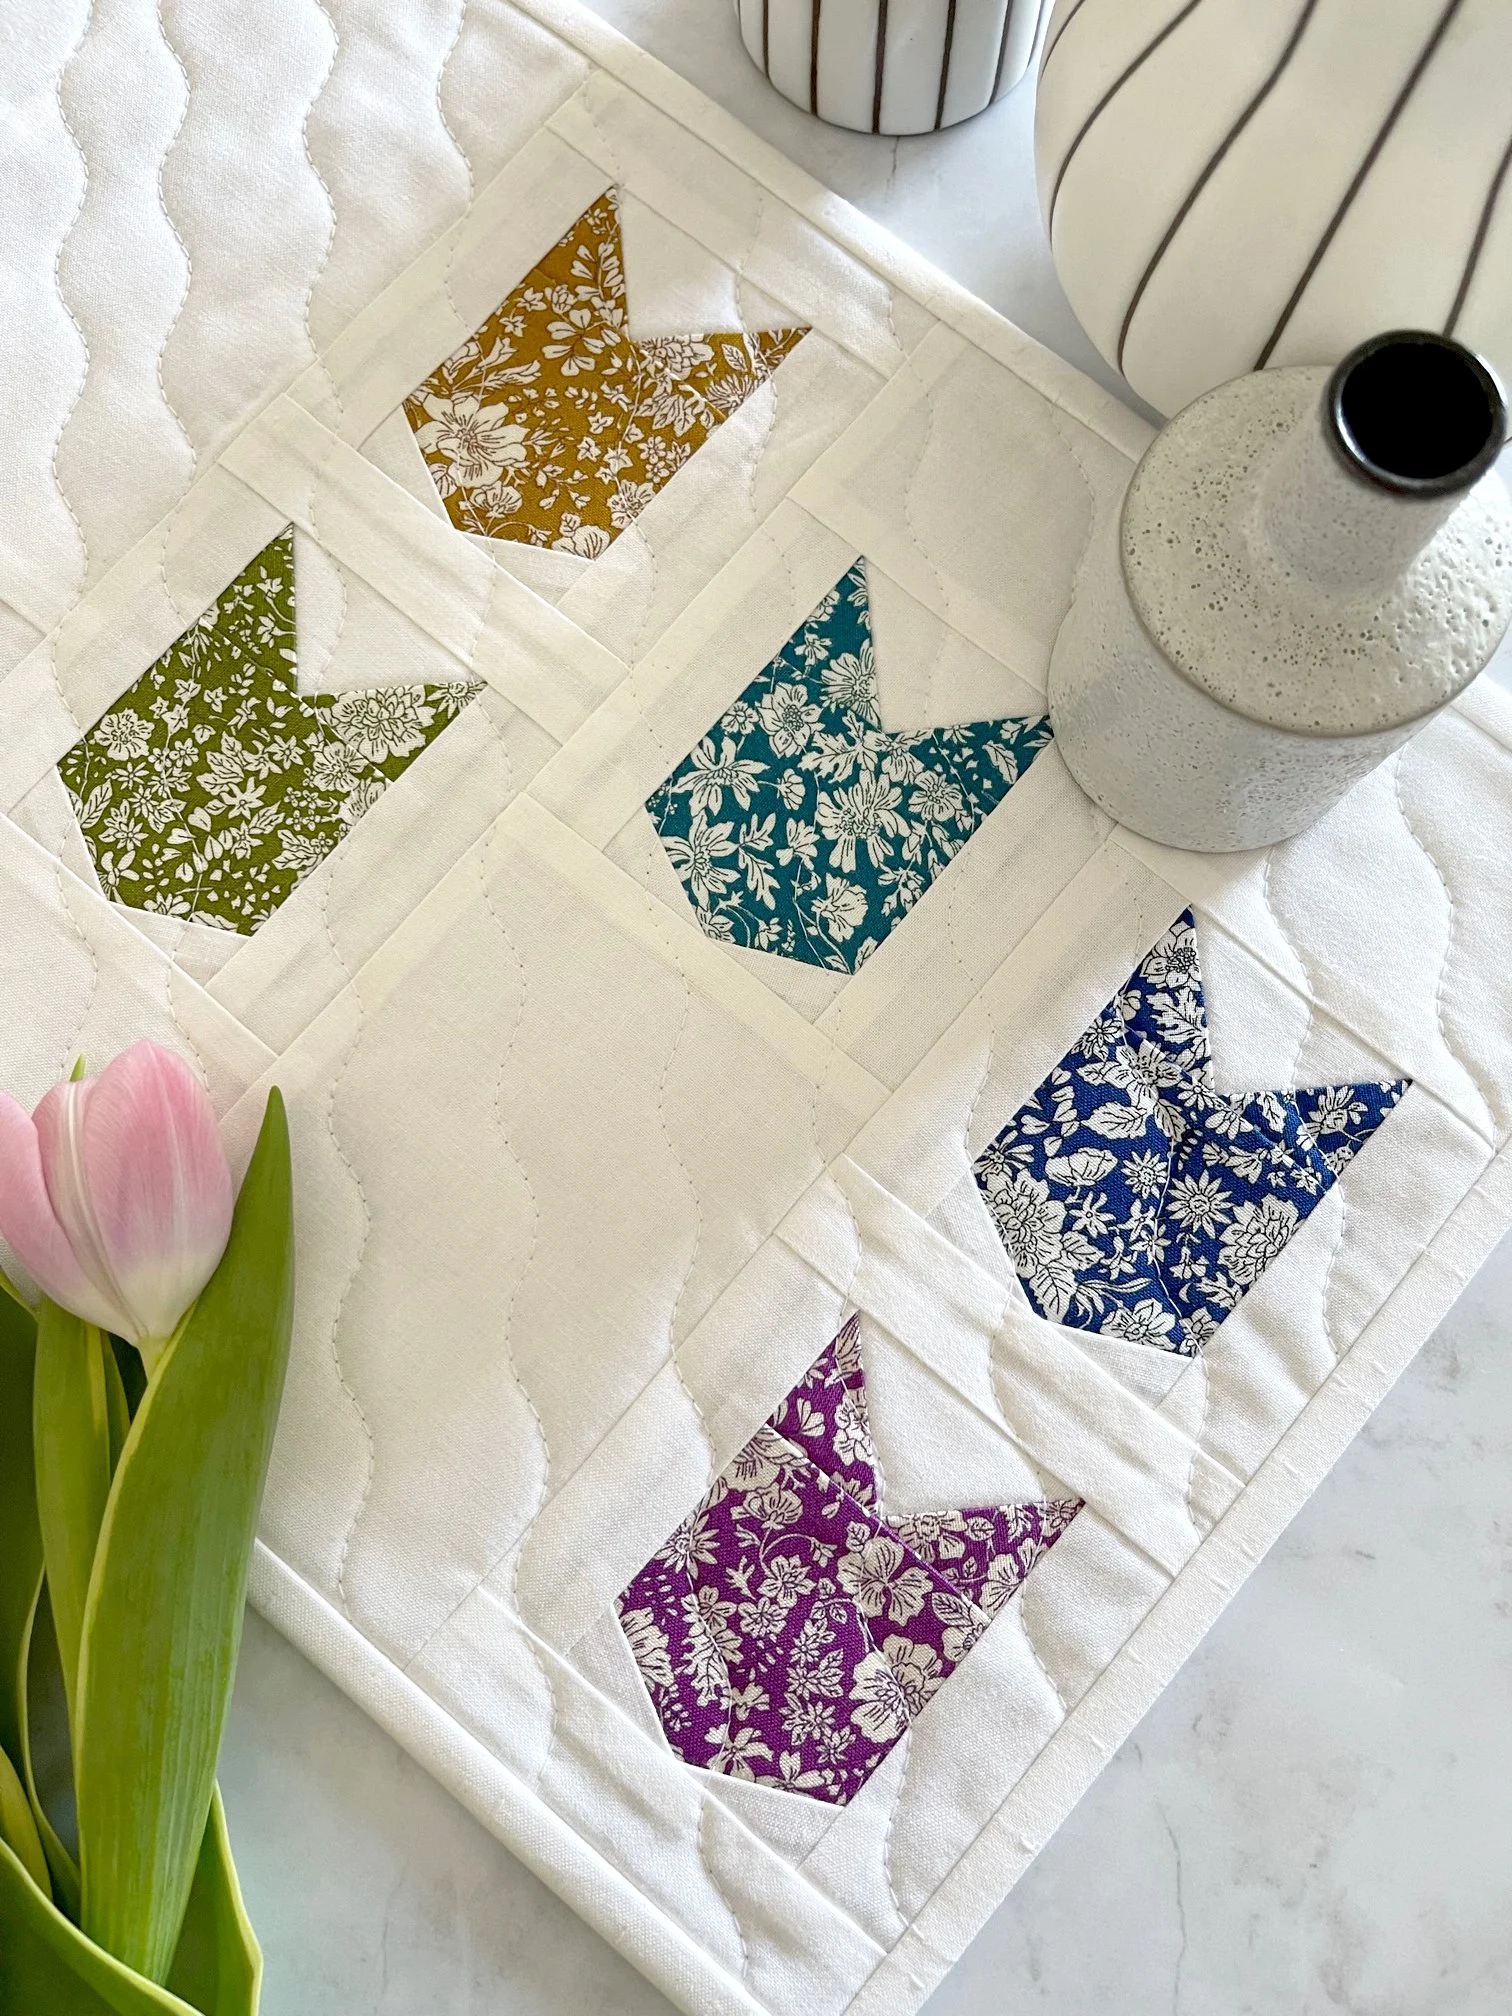
Miniatures are trendy and oh-sew cute! Let’s make a mini duvet.

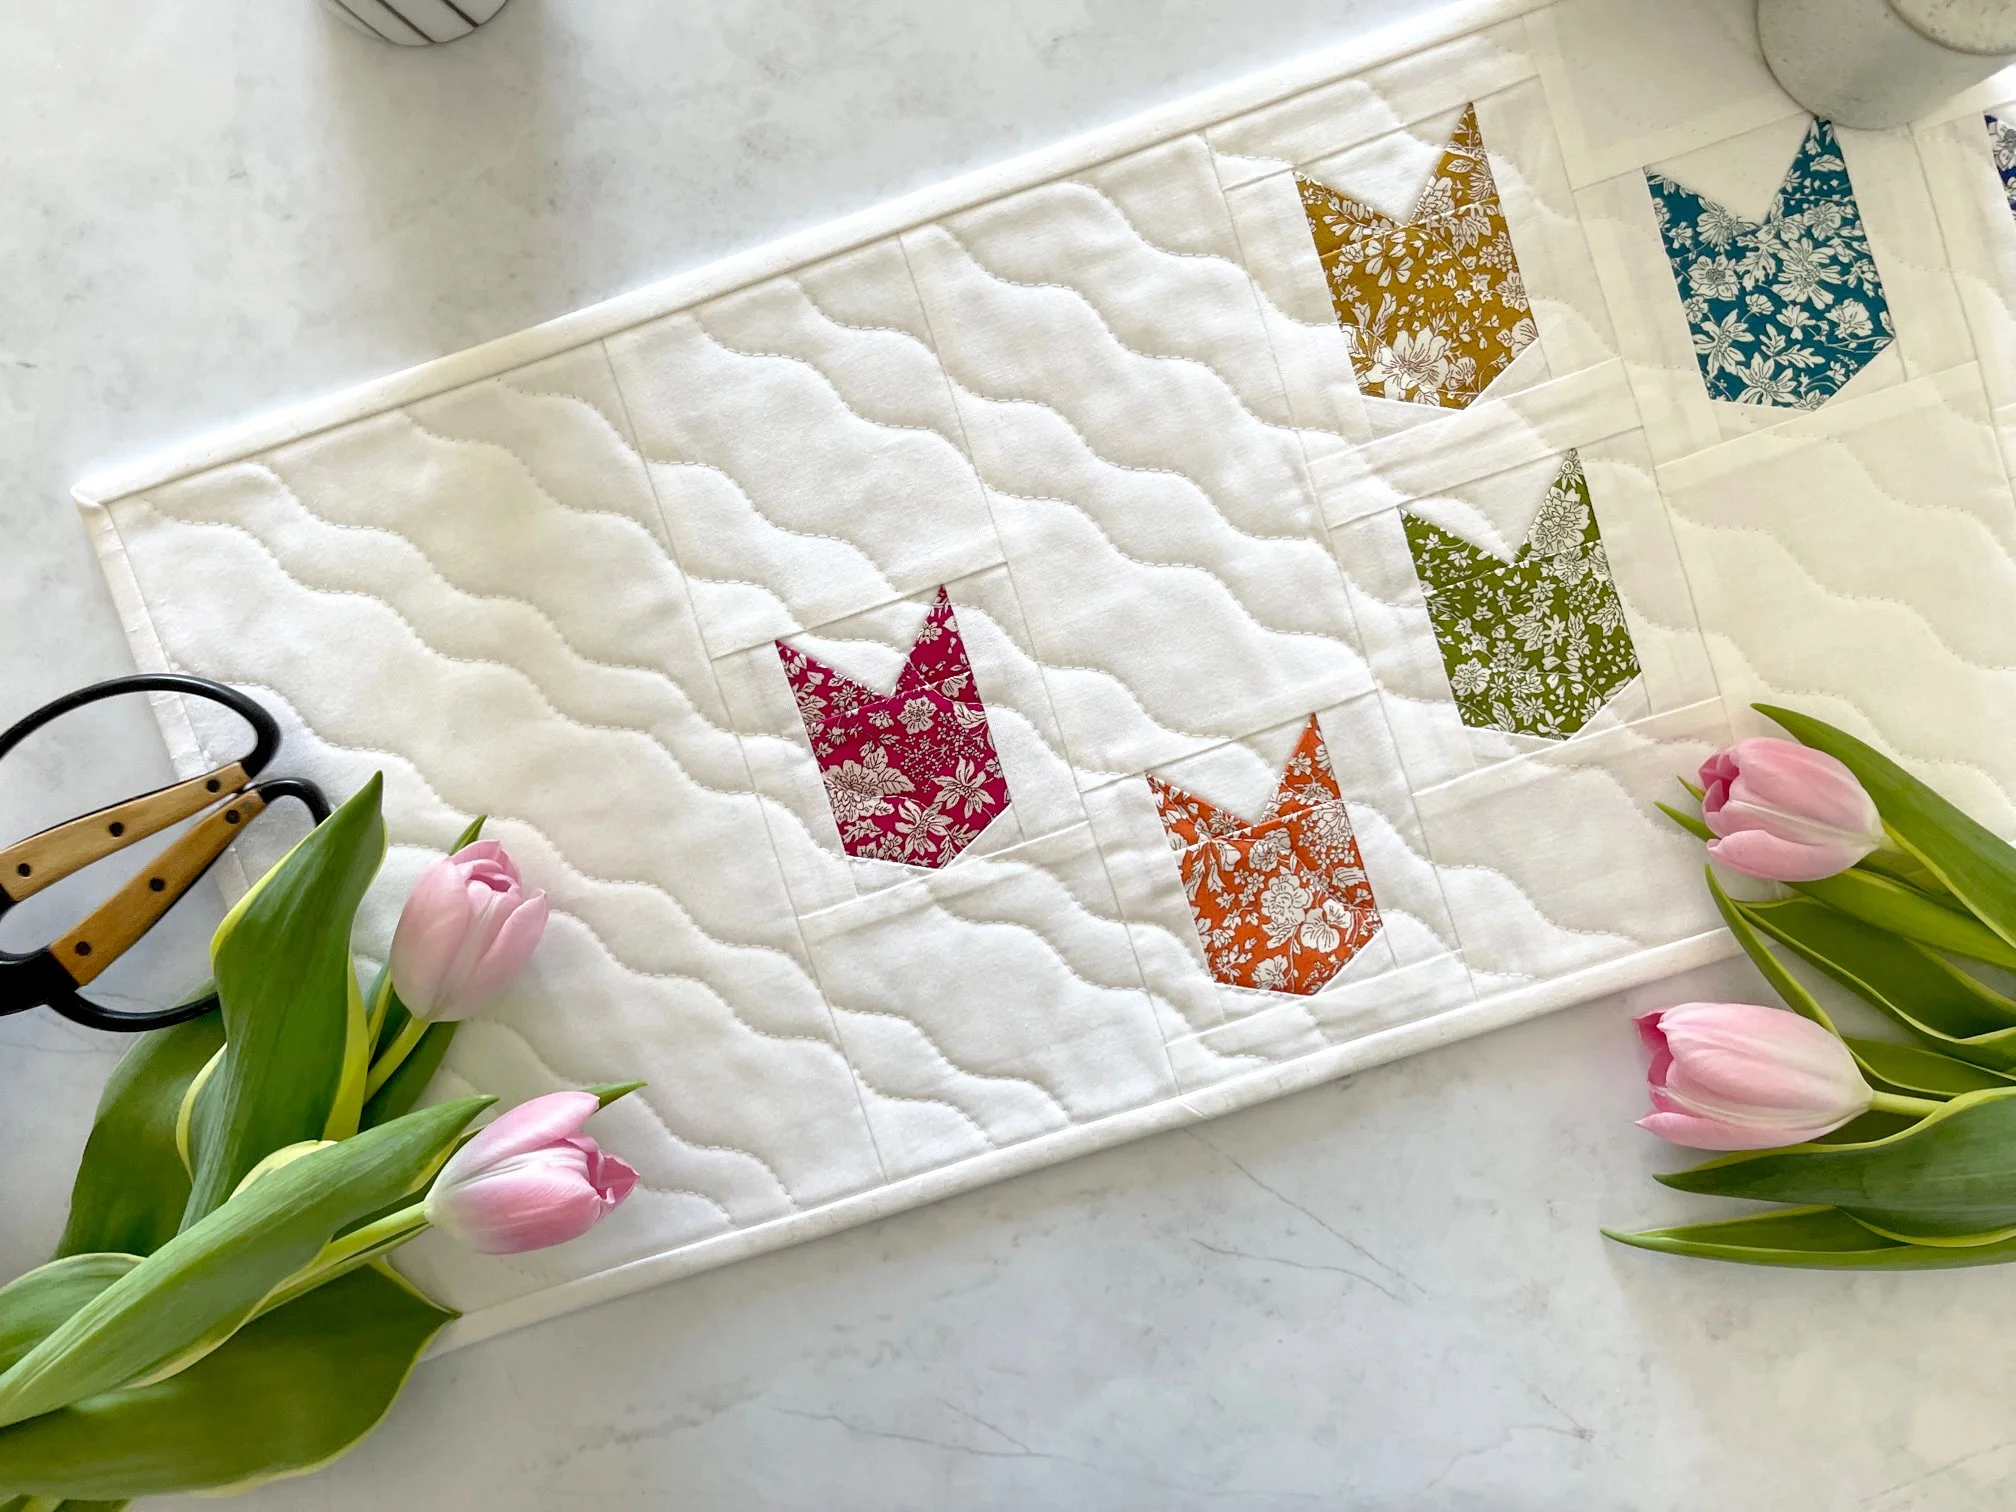
And the best part, you can make this for any scale!

Here are the supplies you’ll need:

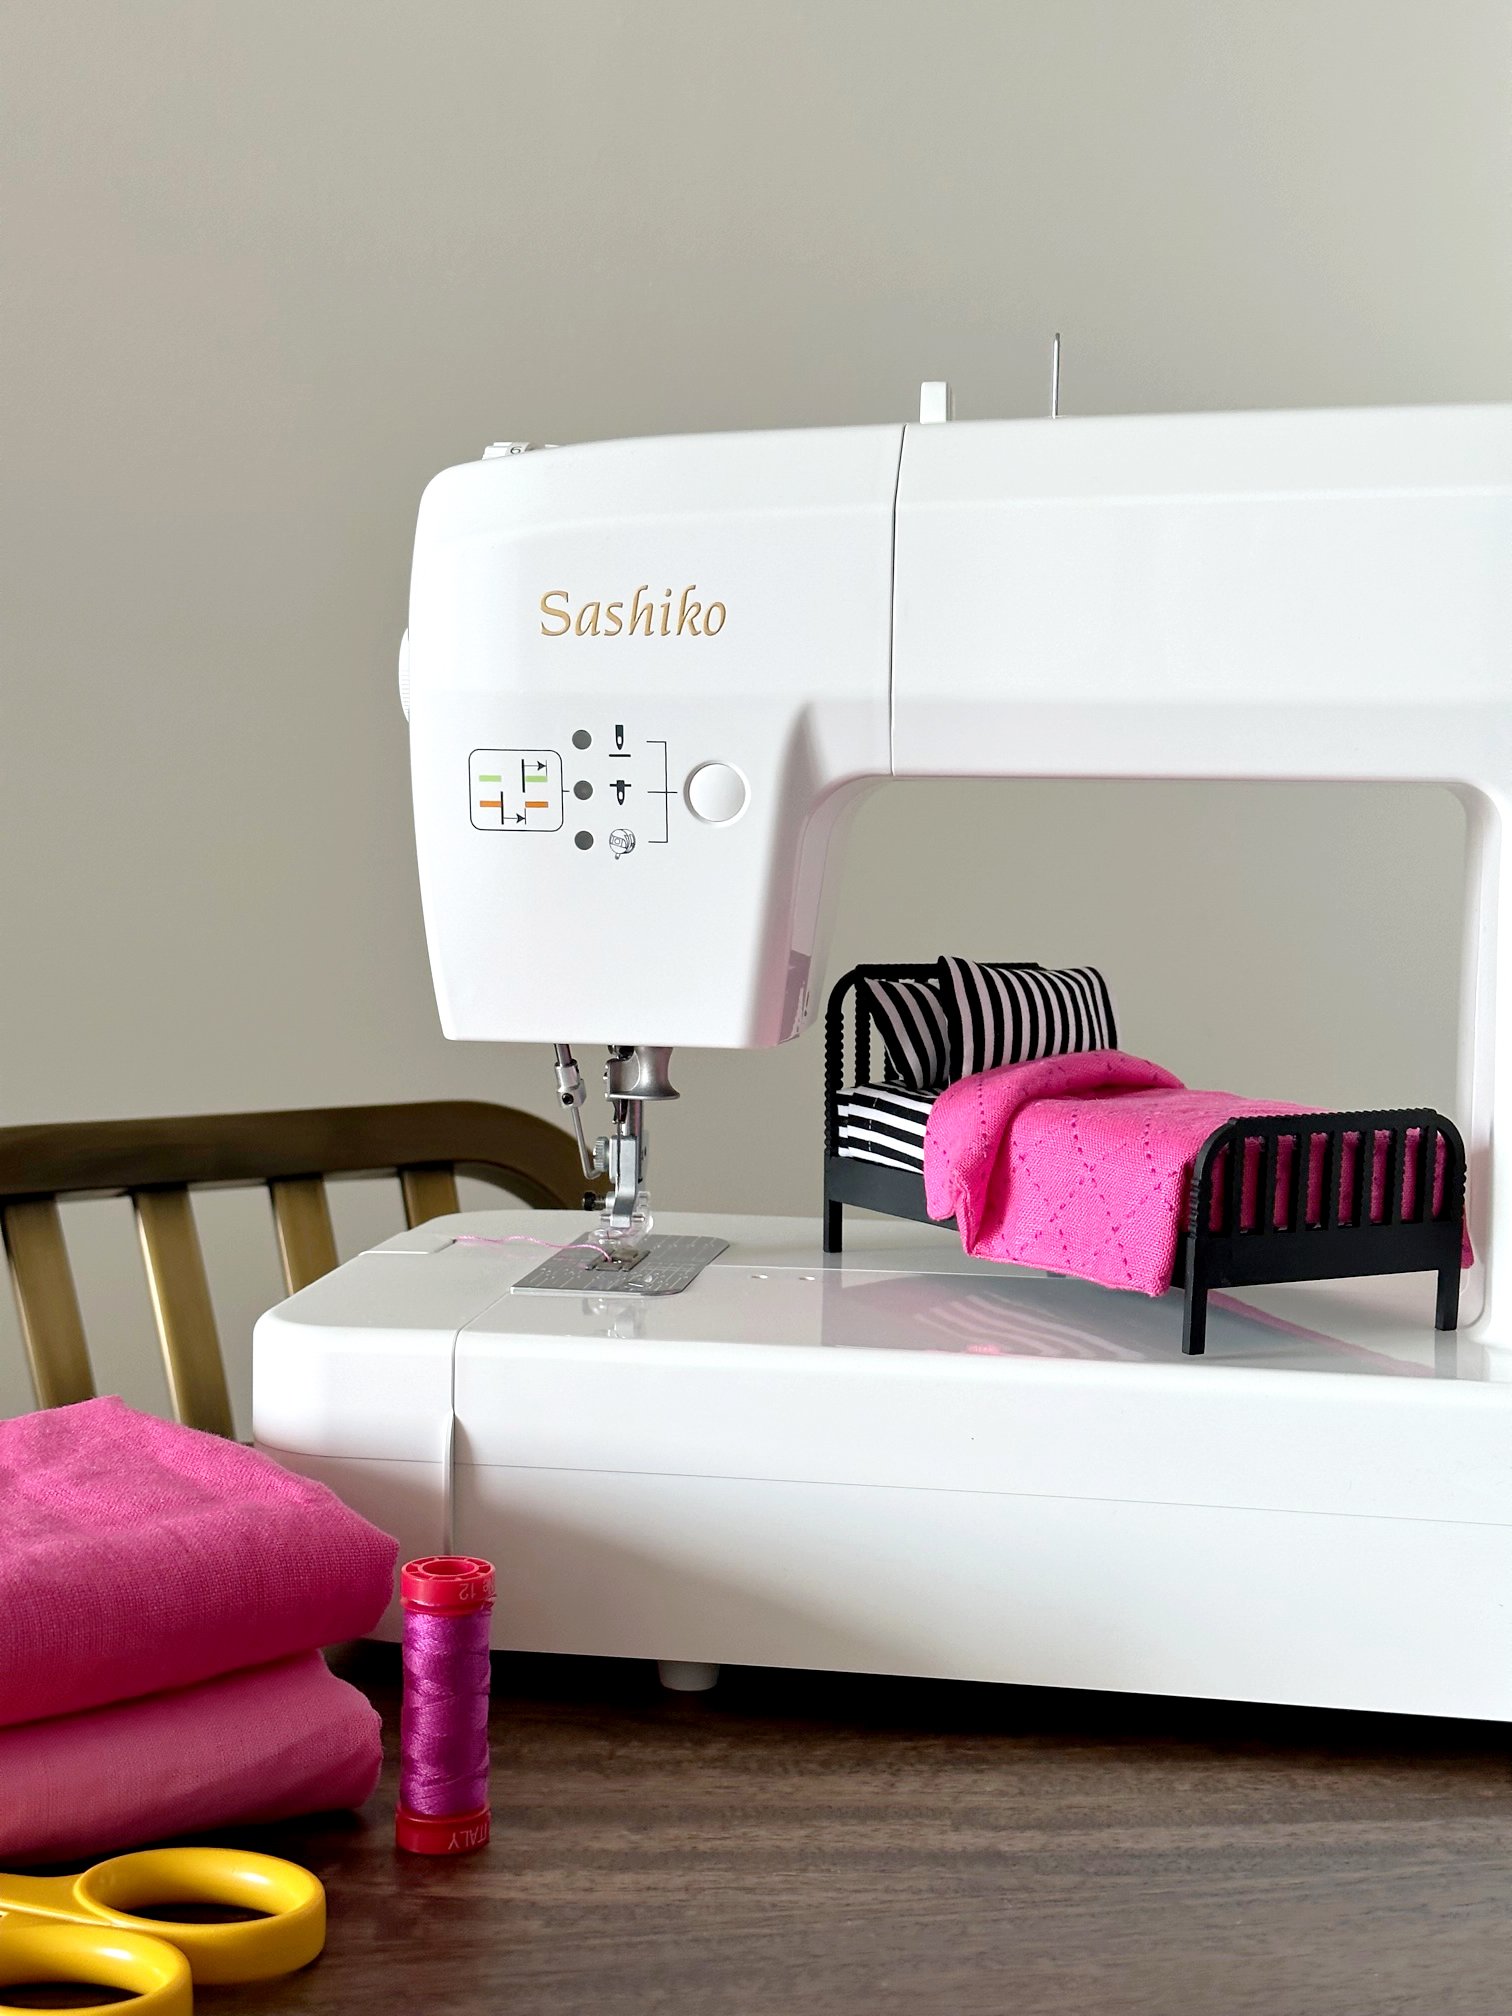
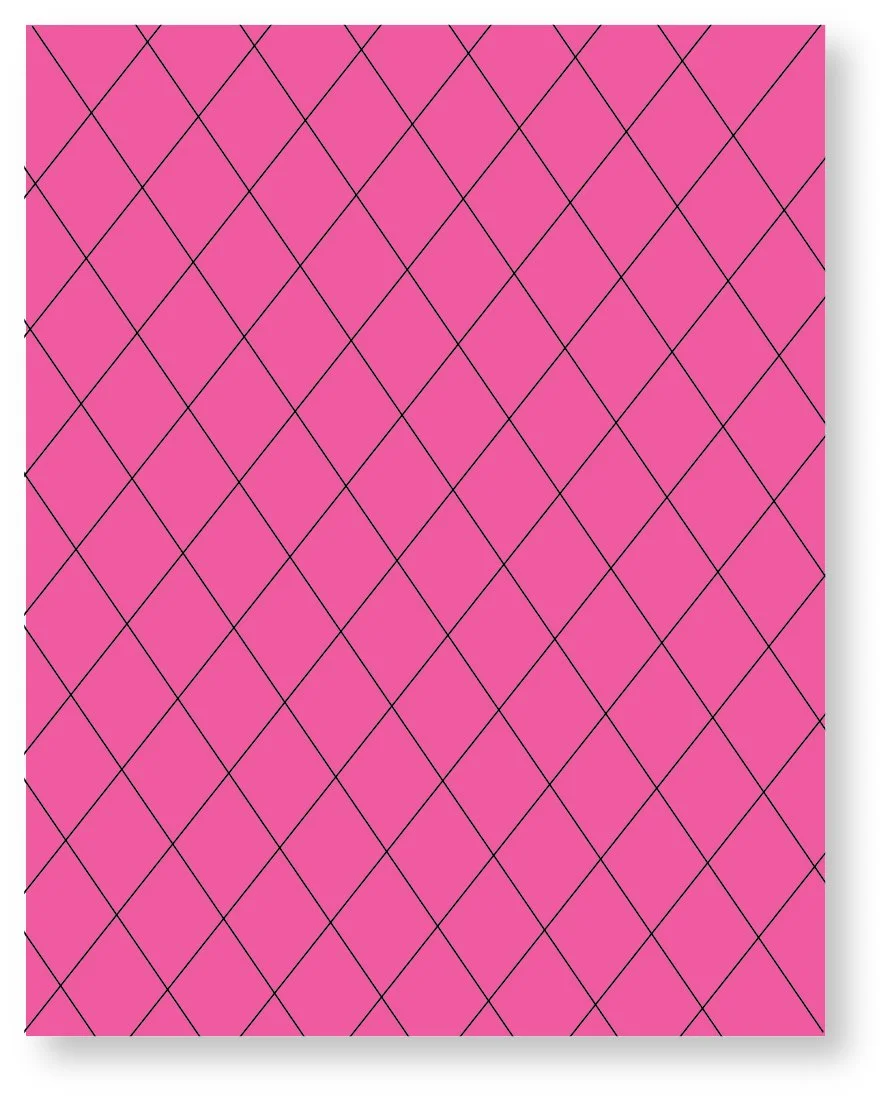
I purchased this gorgeous hot pink Medium Weight Linen Woven from Mood Fabrics. Check out their selection of colors — you could make a mini duvet for every season! Linen from Riley Blake Designs is another great option. You can purchase it from Fat Quarter Shop. A ditsy floral or equivalent small print in quilting cotton could work too. The possibilities are endless.

Here’s how to make a mini duvet:

  • Measure the width and length for the desired finished mini duvet

  • Cut 1 mini duvet top rectangle, 1 quilt batting rectangle, and 1 mini duvet back rectangle

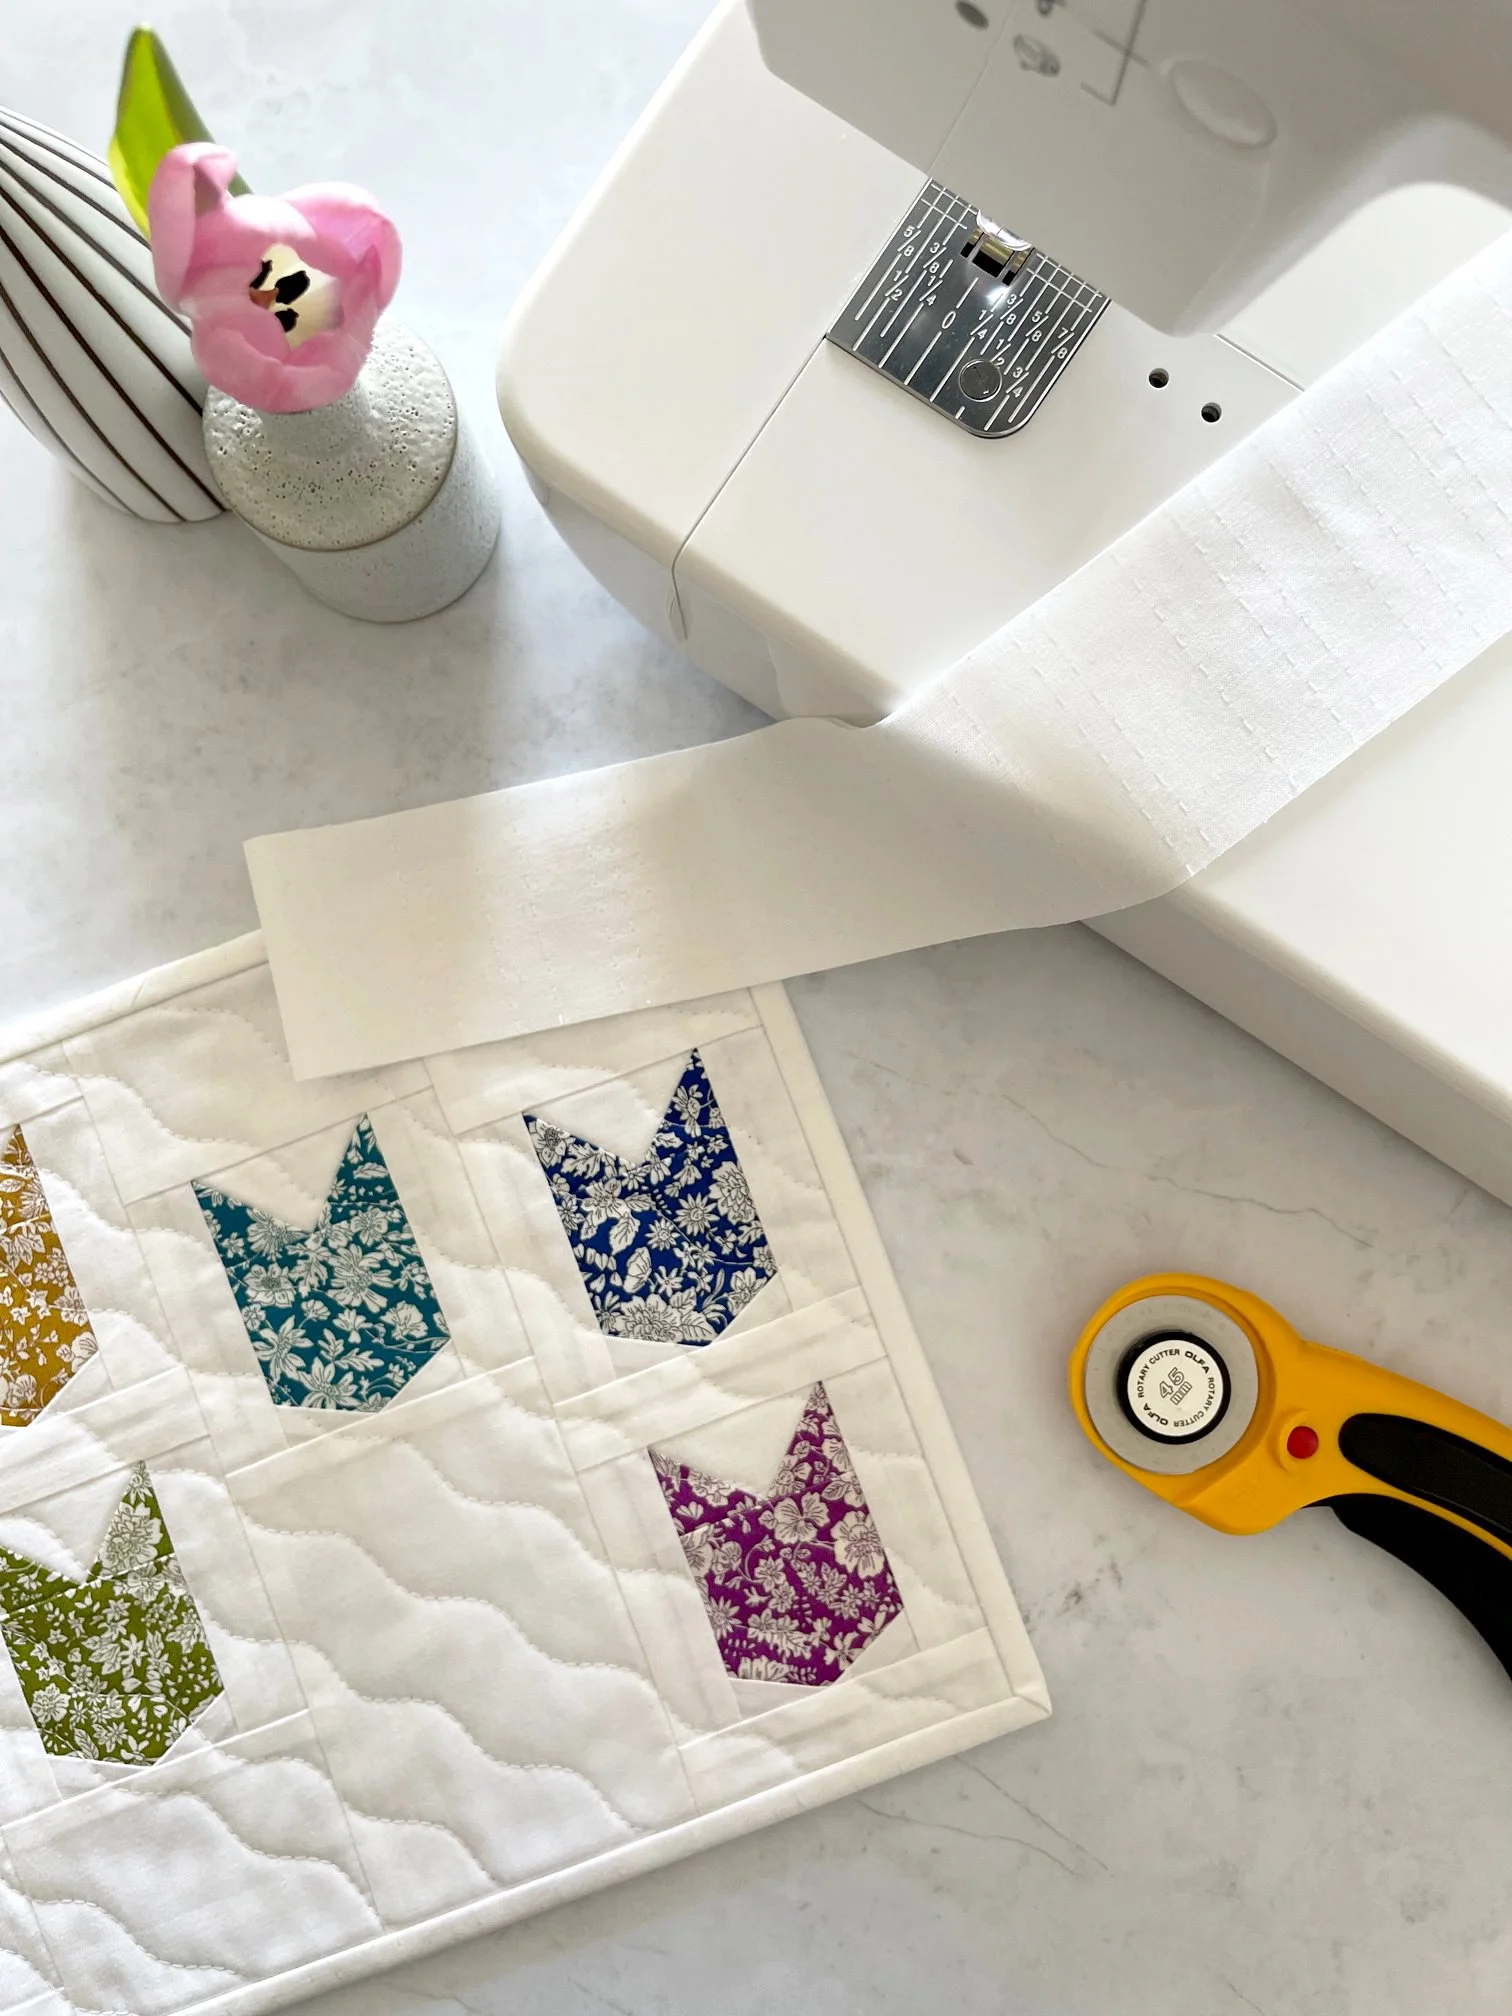
  • Use a Pilot Frixon Pen or Hera Marker to draw the “quilting” lines on the right side of the mini duvet top

  • Set the Sashiko Stitch Length to 2 1/2 and the Stitch Spacing to 3

  • With the drawn “quilting” lines facing up, layer the mini duvet top and quilt batting together

  • Starting in one corner of the mini duvet top, “stitch / quilt” on the drawn lines

  • Repeat until all drawn lines are “stitched / quilted”

  • Press away the Pilot Frixon Pen or Hera Marker drawn lines

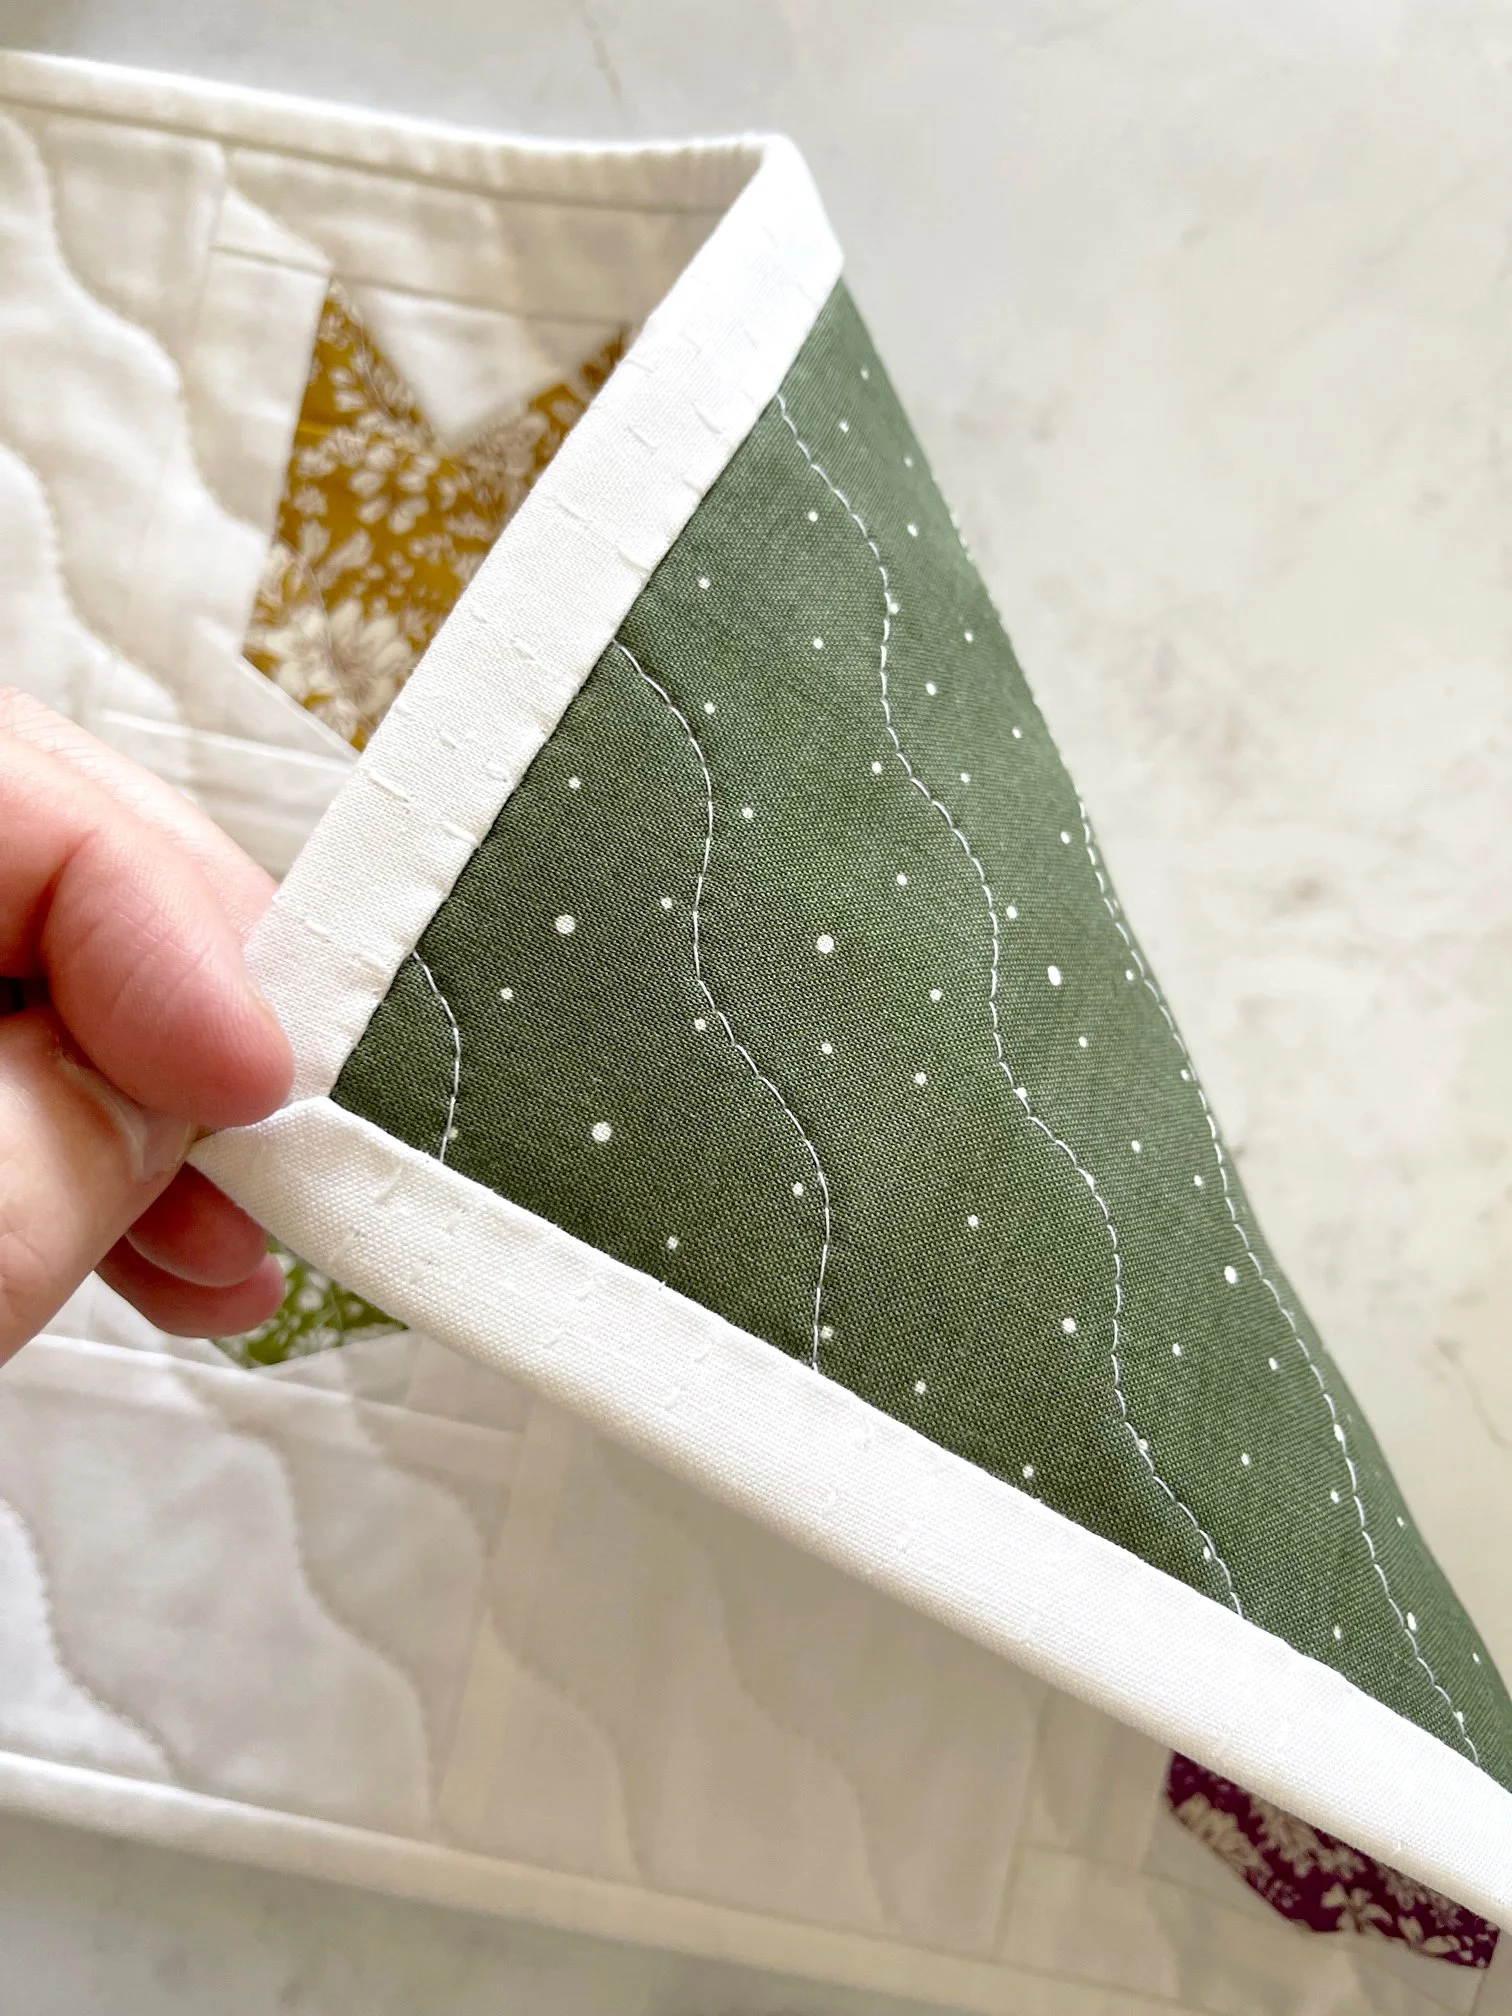
  • With right sides together and the quilt batting side facing up, layer the “quilted” mini duvet top and mini duvet backing

  • Using a sewing machine, reduced stitch length, and 1/4” seam allowance —stitch the layers together, stopping to create an approximate 2” opening

  • Carefully clip each corner — make sure not to clip the sewing machine stitches

  • Flip the mini duvet layers right side out and gently “push” out each corner with a point turner

  • Hand stitch or machine stitch the opening closed

  • Press the finished mini duvet

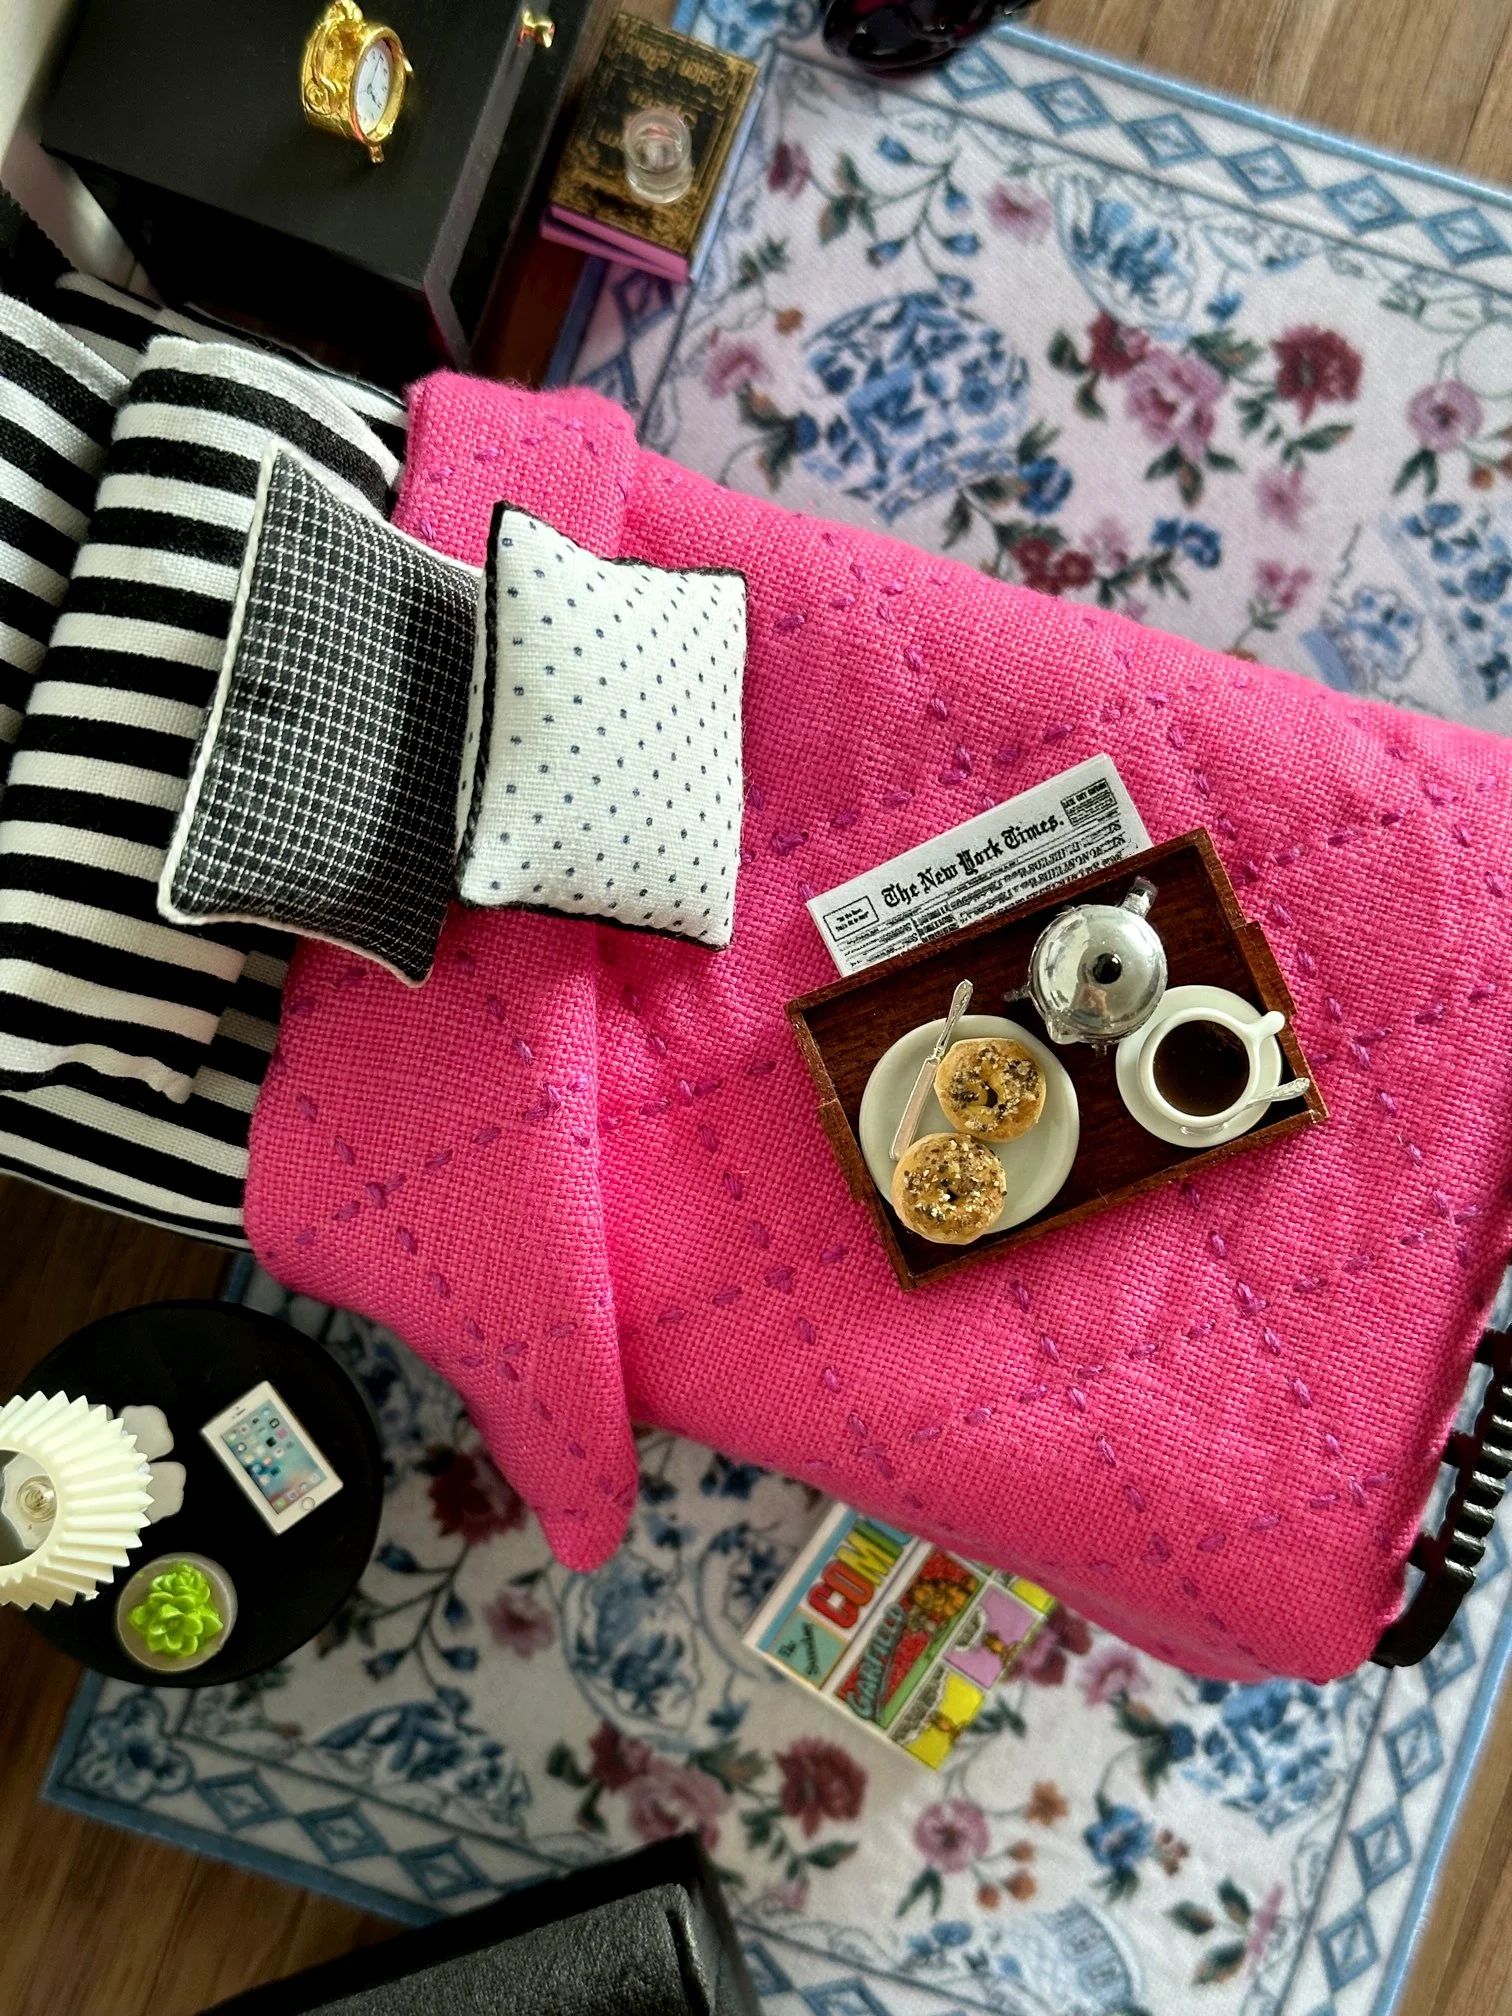
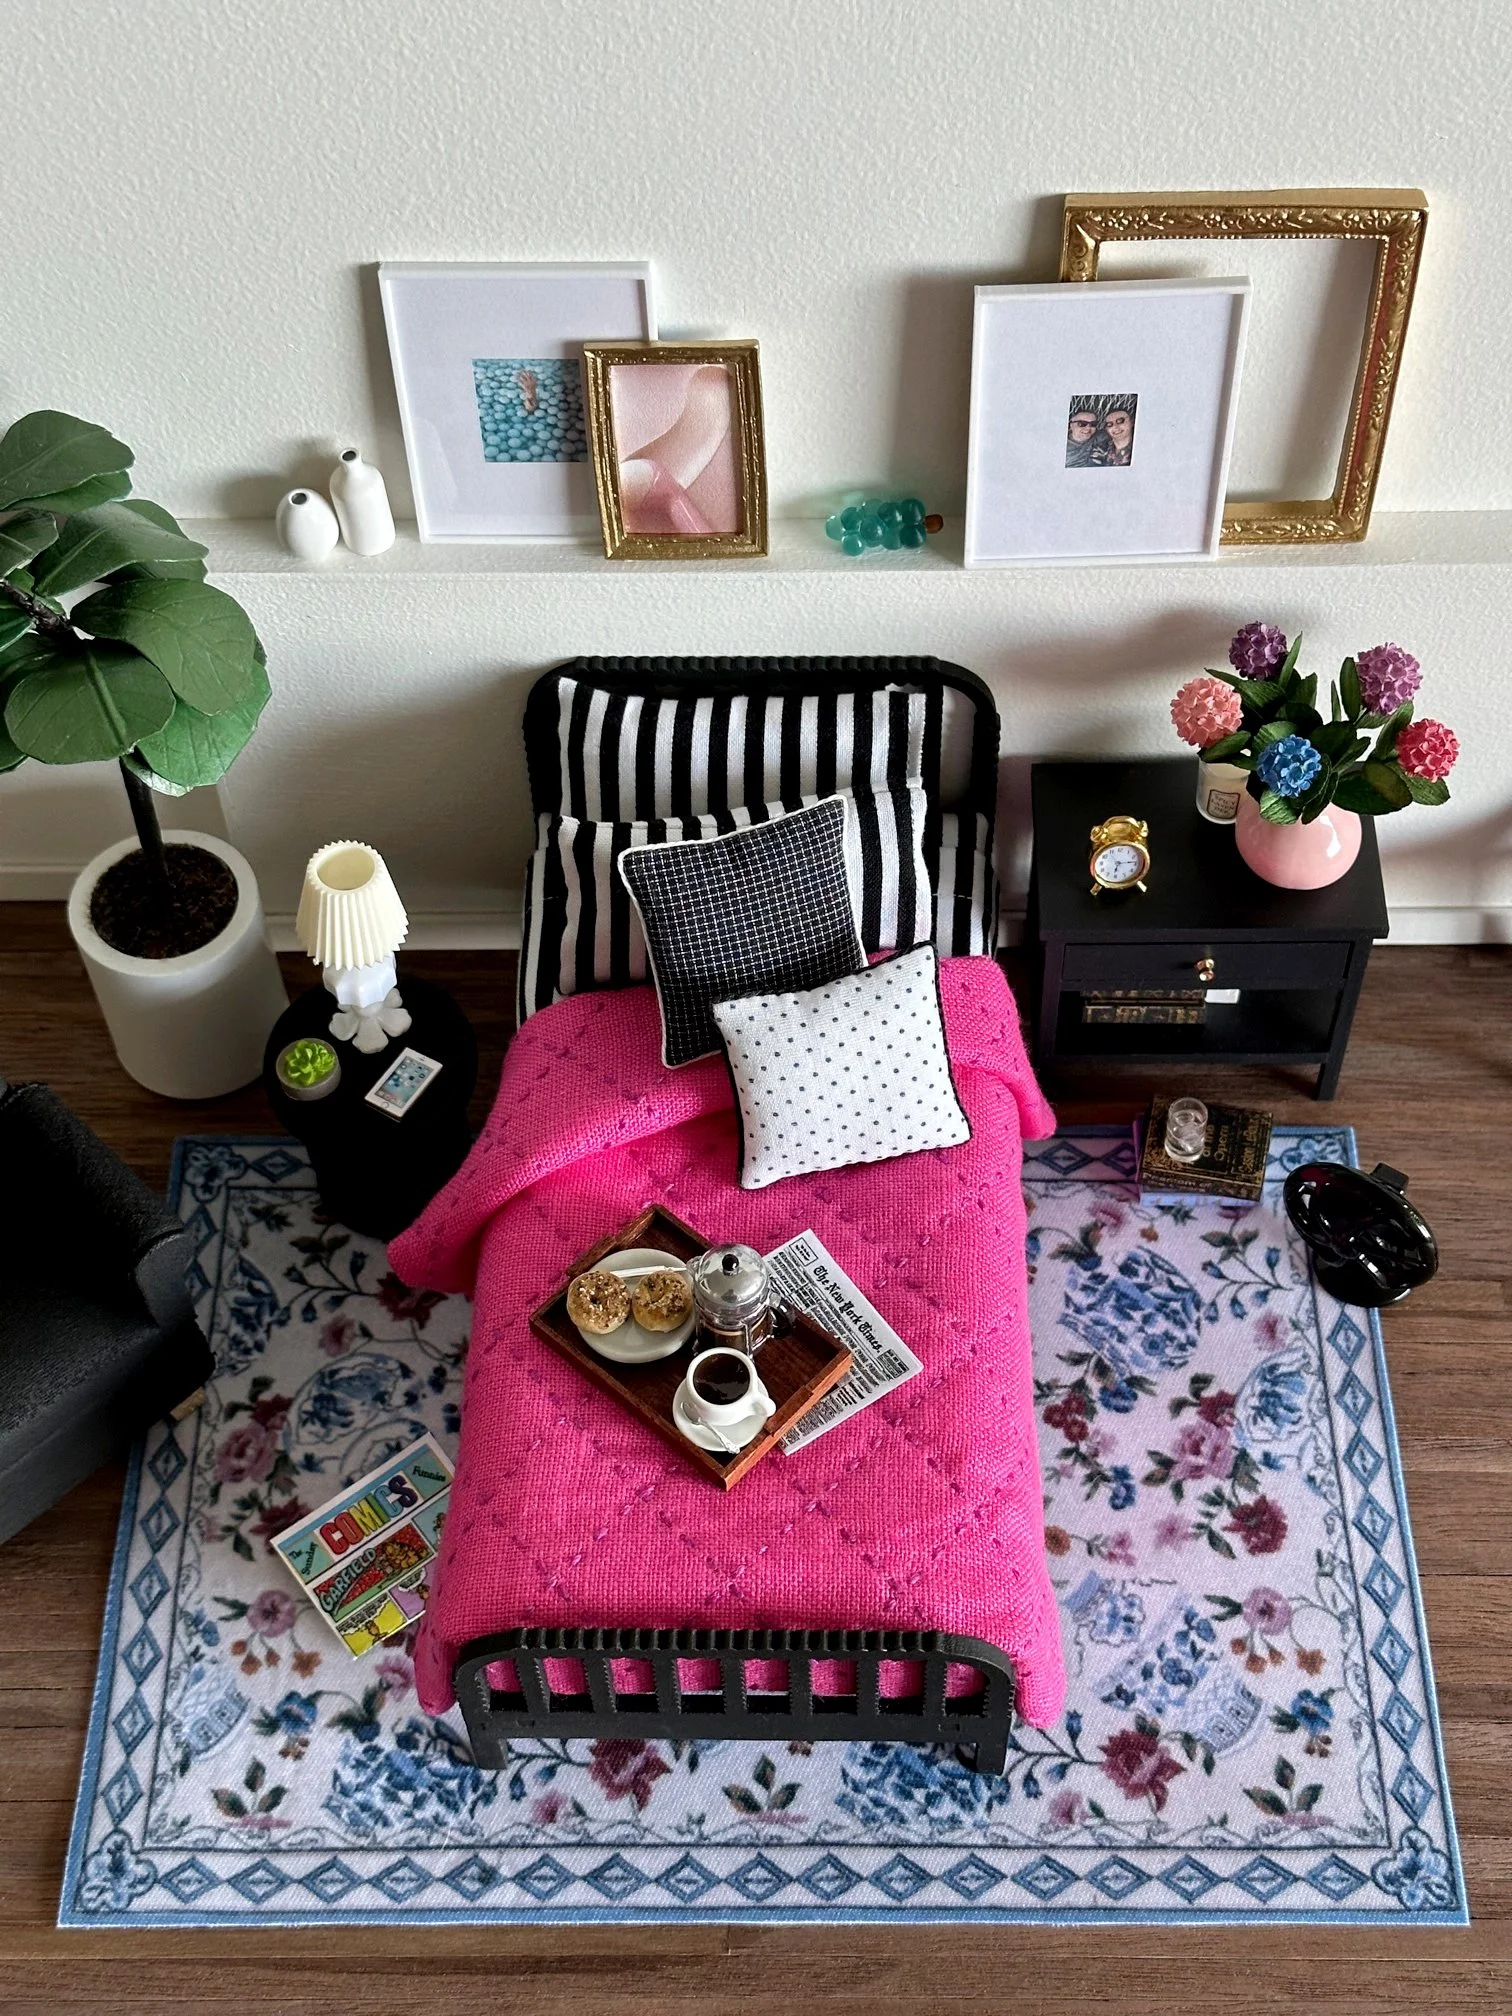
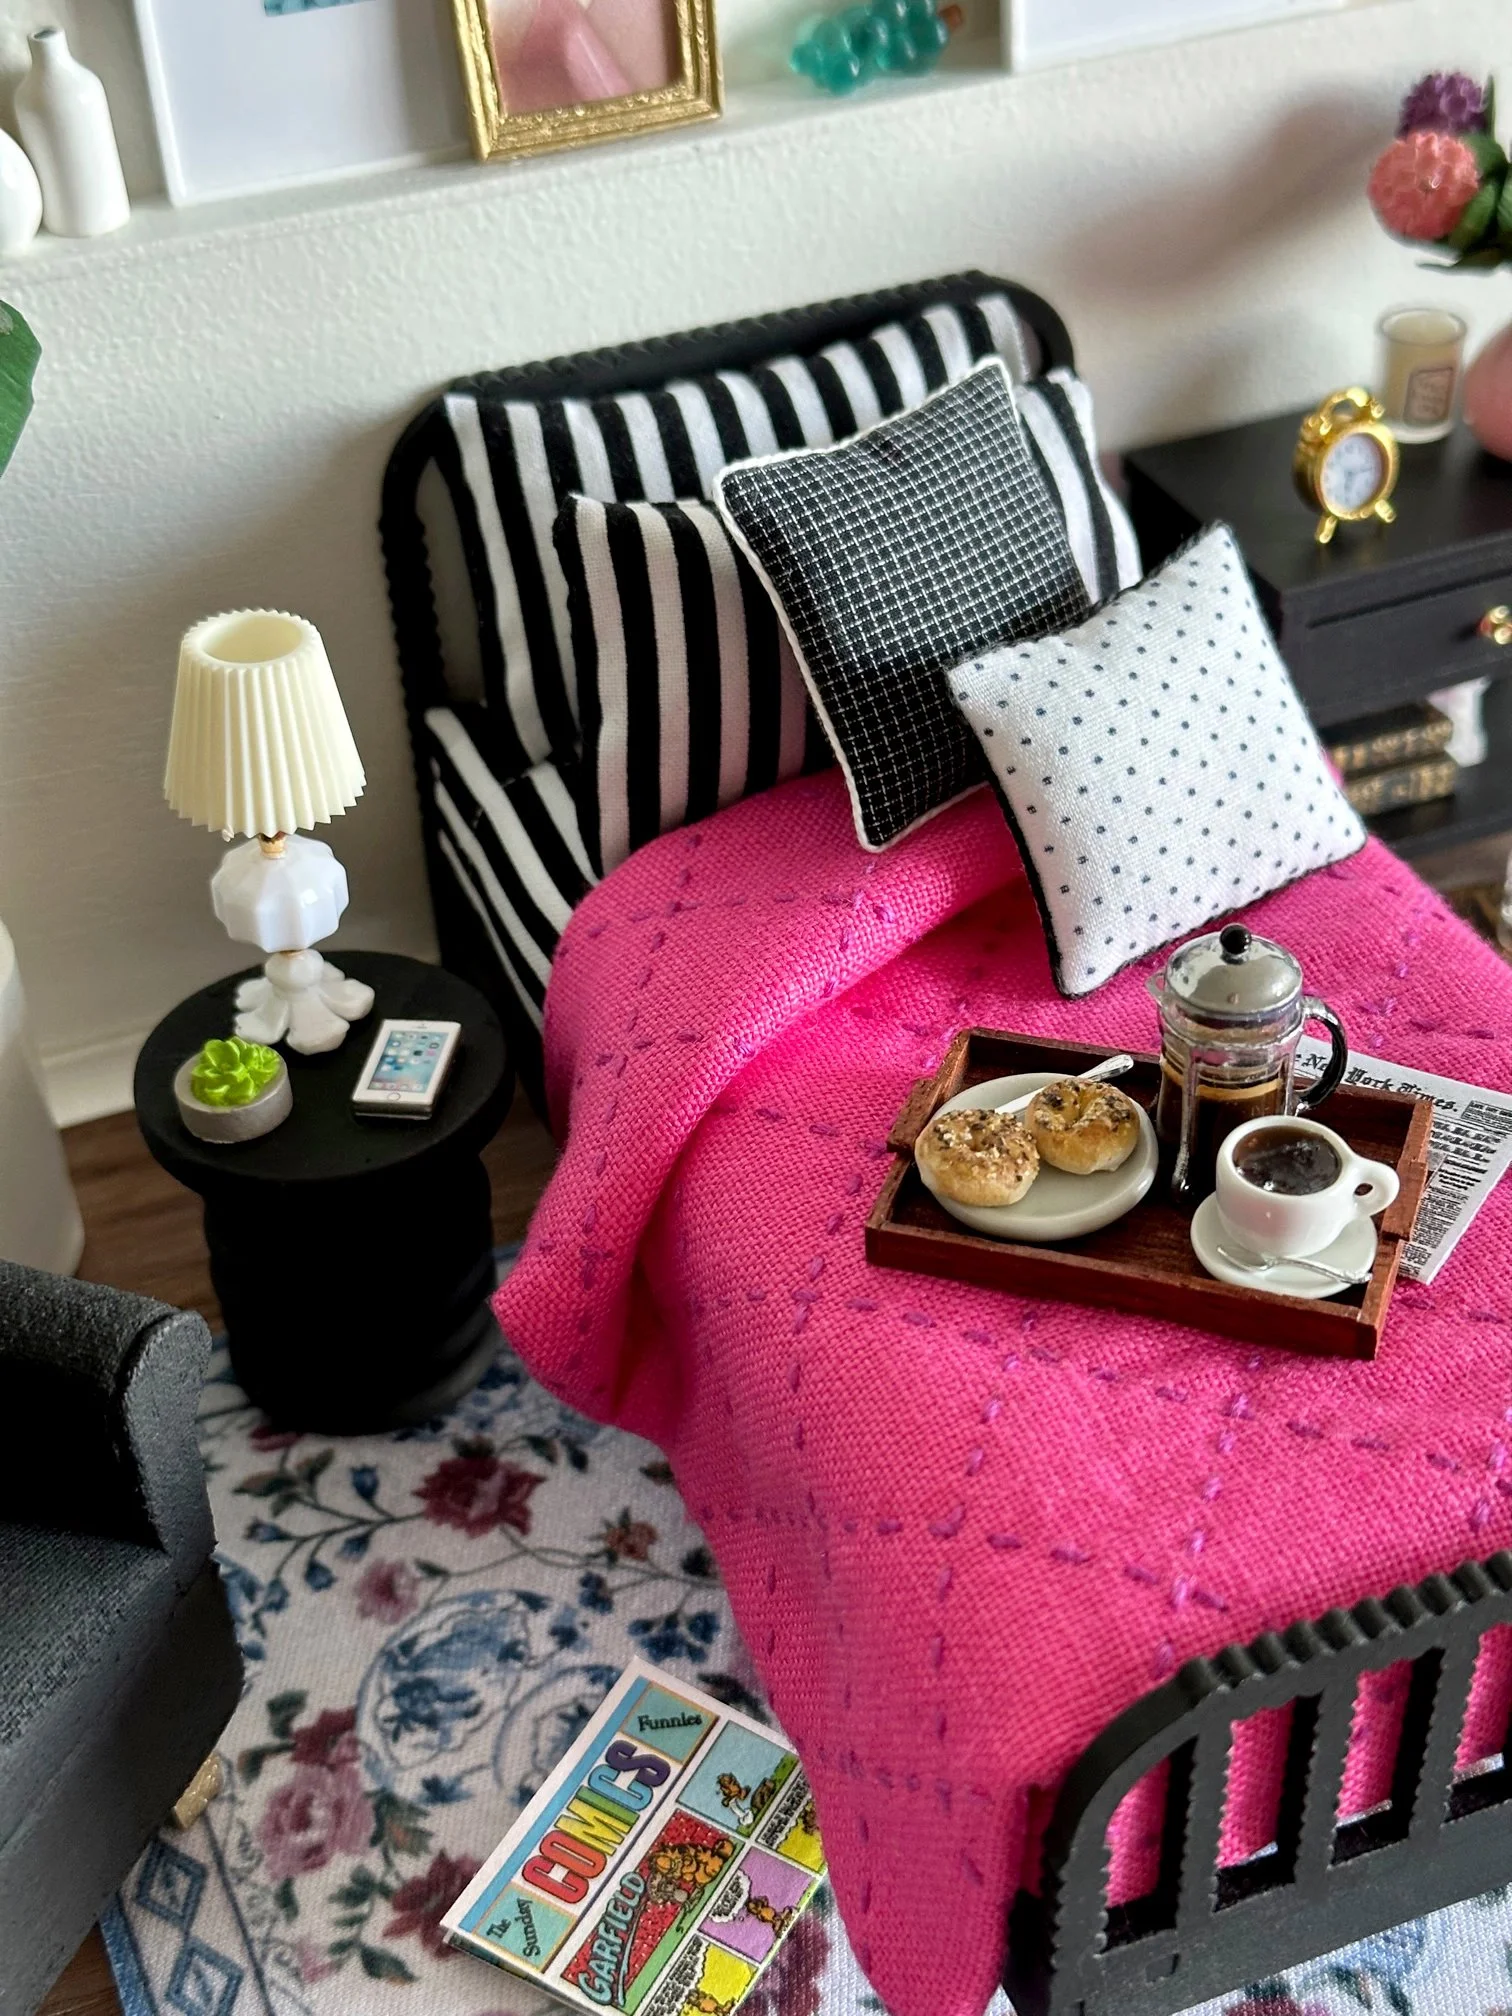
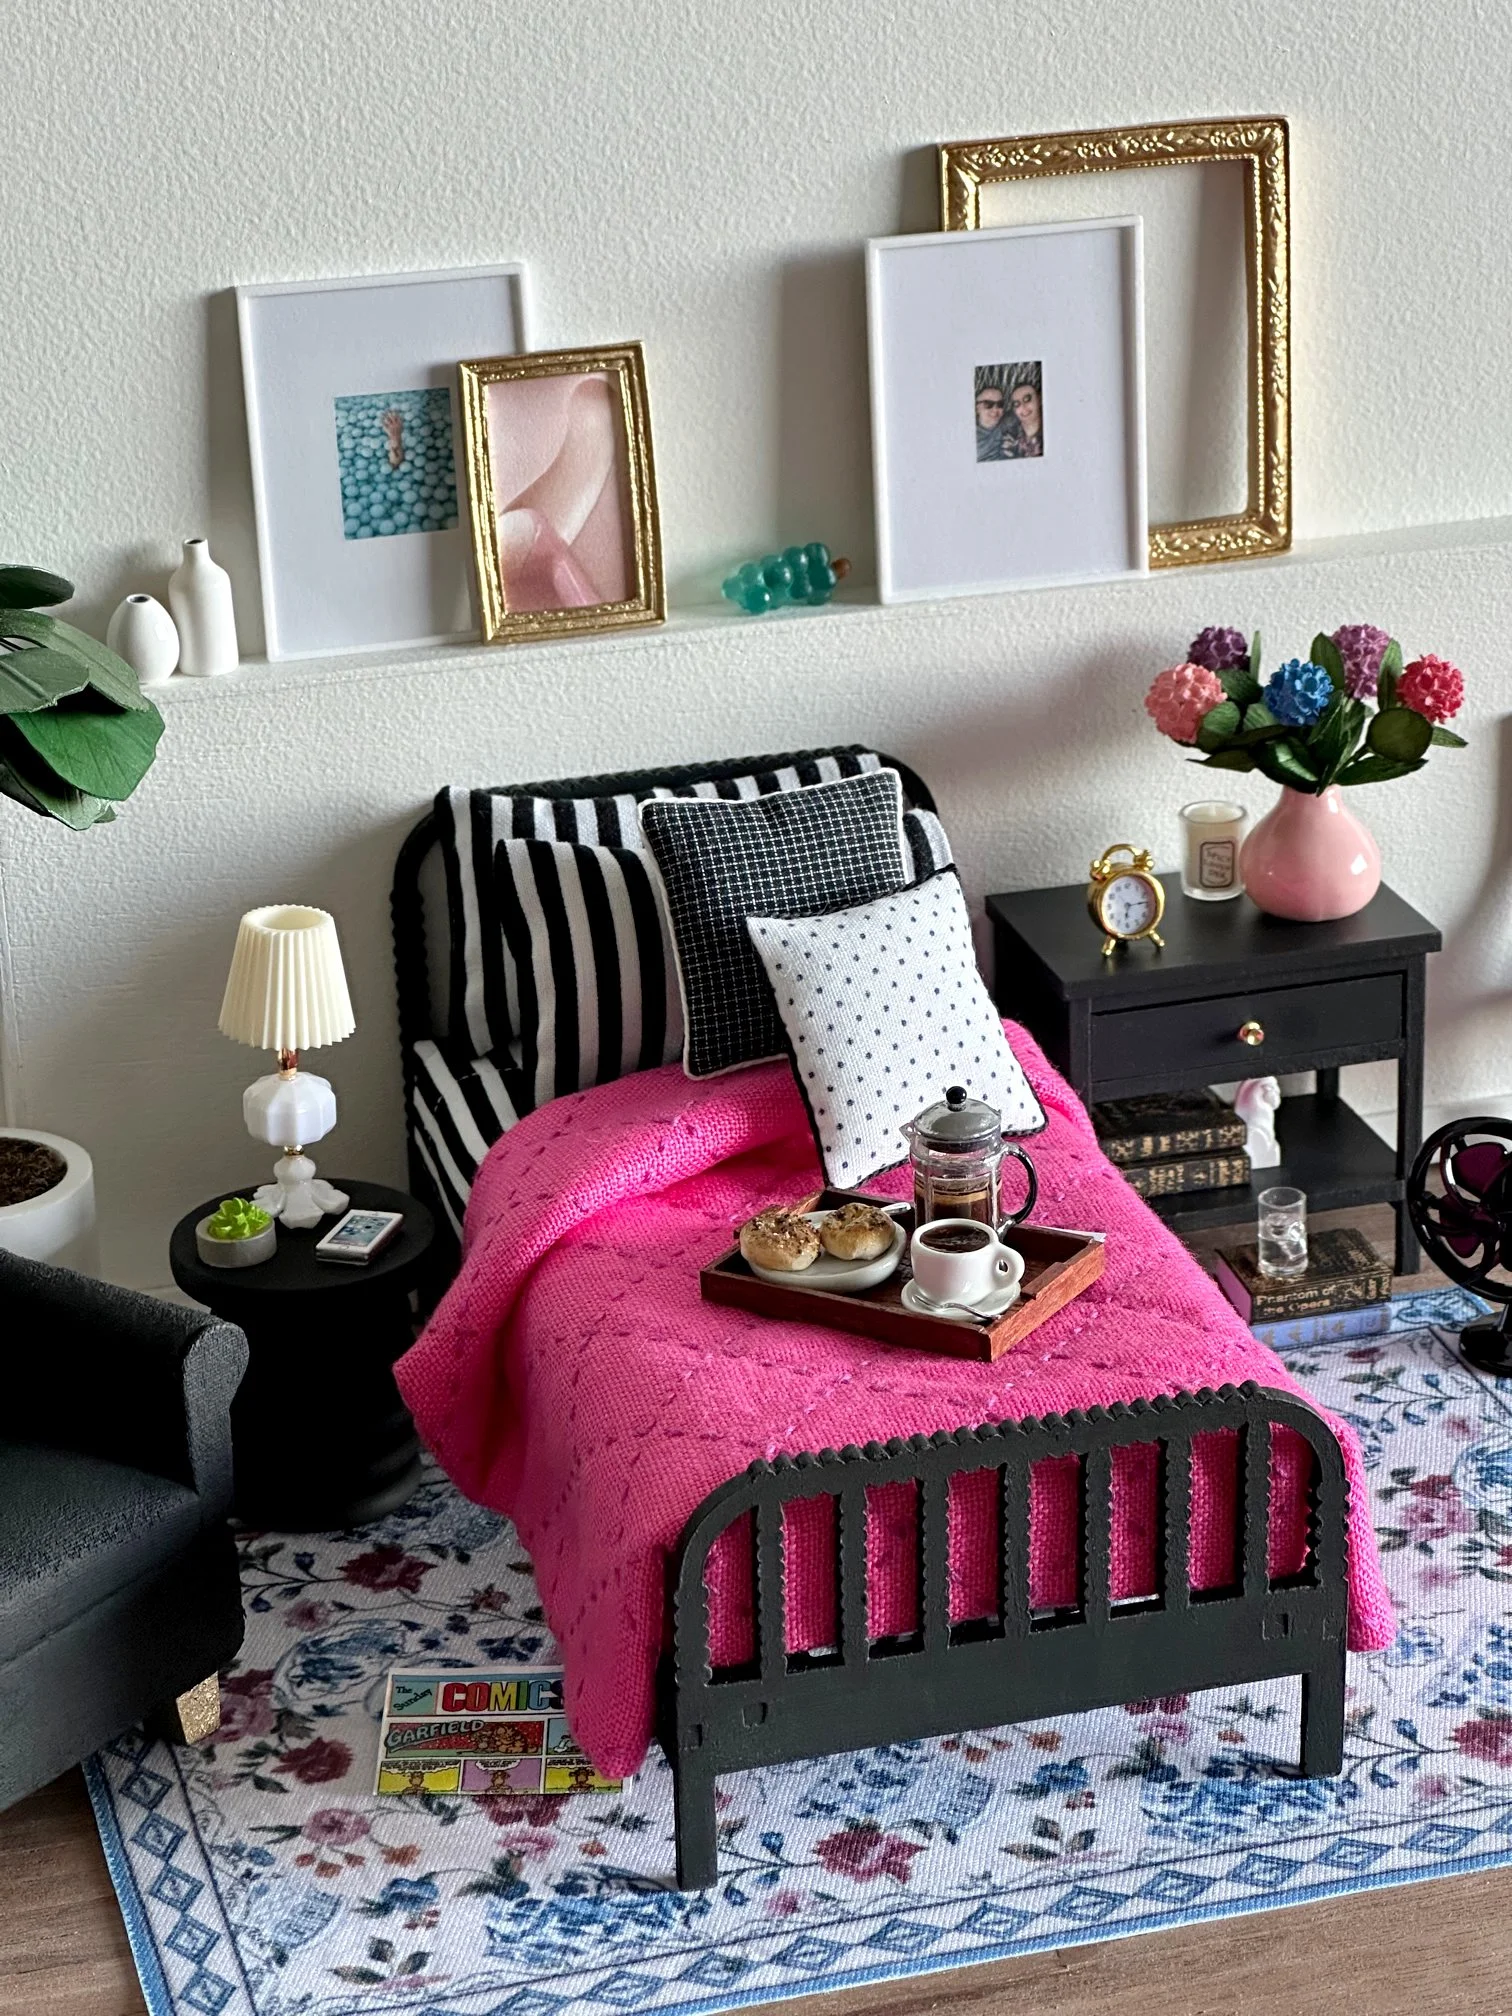
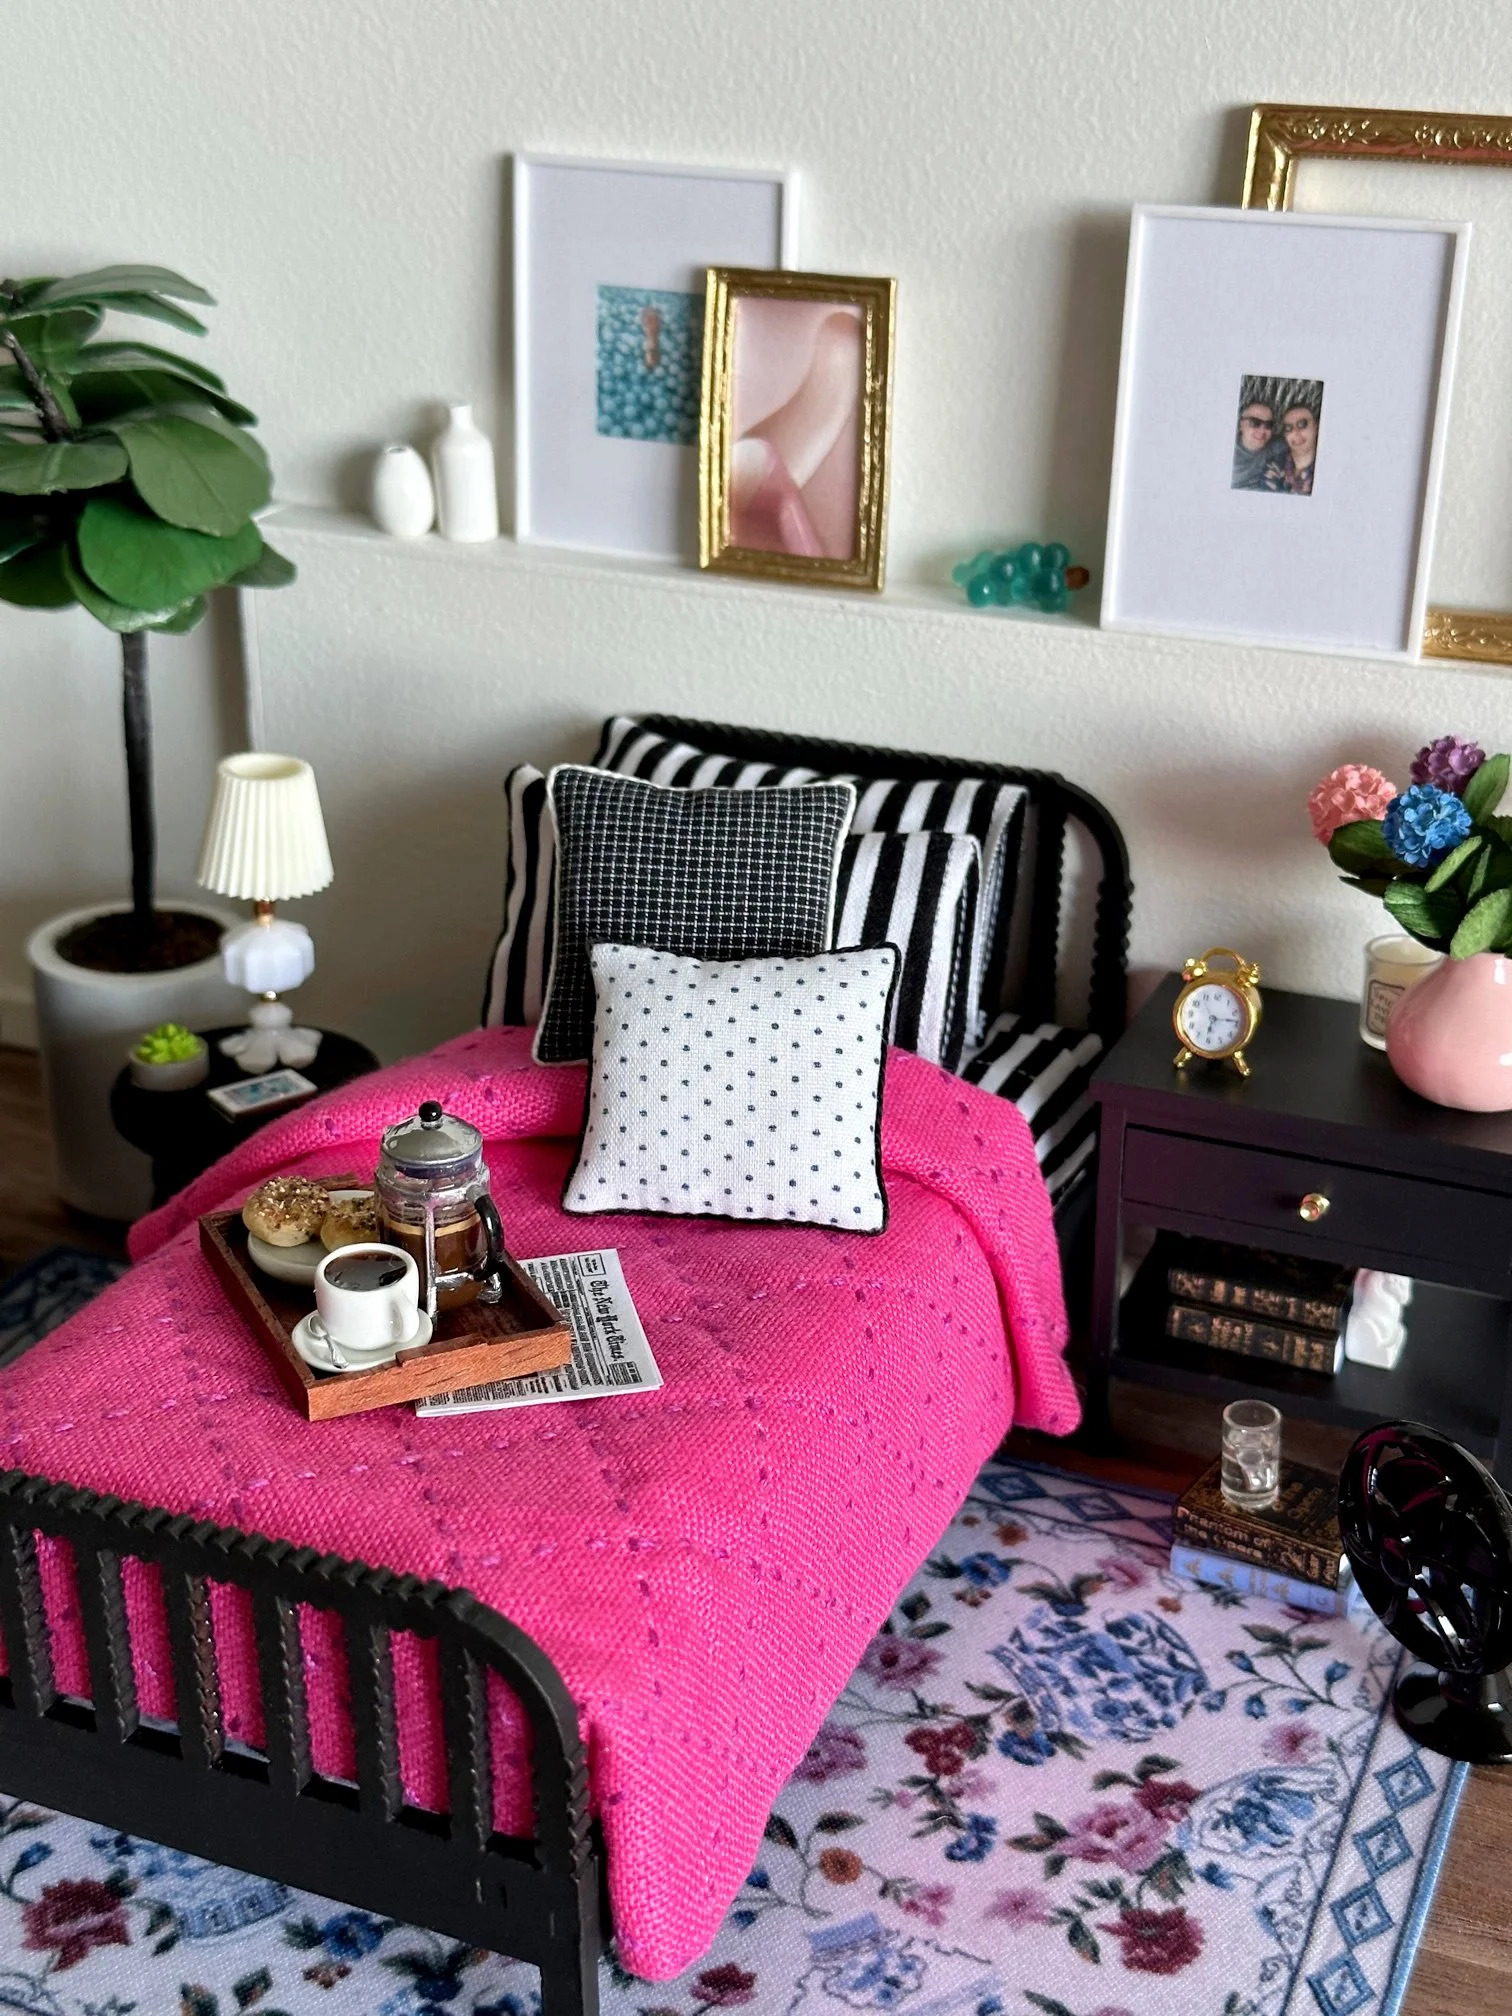
Ta-Da! Your first mini duvet! I love the beautiful texture the Sashiko stitches add. Using a solid color for the mini duvet gives you room to create lots of unique and personalized “quilting” designs.

How to determine the desired width and length for the mini duvet:

  • Measure the length of the mini duvet drop for each side of the bed

  • Measure the length to pull down at the top or tuck in at the bottom of the bed

  • Remember to add 1/4” for the seam allowance

  • If the mini duvet top comes out larger than anticipated — measure again and trim each mini duvet layer before stitching them together

My mini bed also features a sheet set and pillow cases made with Stripe Basics from Riley Blake Designs. The throw pillows were made by miniature artisan Carol Moore. The bed frame and nightstand are both part of kits designed by Kristine Hanna of Paper Doll Miniatures for Miniatures.com.

Go ahead — make a mini duvet today! Looking for more Sashiko Machine projects? Check out what’s available at BabyLock by clicking HERE.

cut, sew, repeat…

the tattooed quilter

Teeny-Tiny Tulips and Blooper featuring Sashiko...

A great idea turned blooper. We’ll get to that in a minute.

But first, let’s make this teeny-tiny tulip table topper. Say that five times fast!

Tulips are my favorite flower and during the spring months, every bodega in NYC is the ultimate source for grabbing a bunch to brighten up your teeny-tiny apartment.

I’ve been wanting to make a teeny-tiny modern project that featured negative space.

Here’s what you’ll need to make your own table topper:

Here’s the simple instructions for making your own table topper:

  • Print out the Teeny-Tiny Tulip FPP templates. Remember to print at 100%.

  • Cut (1) 10” x 6 1/2” Riley White background rectangle.

  • Make the Teeny-Tiny Tulip blocks & background units.

  • Remove the paper from the back of the blocks & background units.

  • Using a 1/4” seam allowance, sew the blocks & backgrounds units together.

  • Press seams to one side.

  • Using a 1/4” seam allowance, sew the 10” x 6 1/2” background rectangle to the blocks & background units.

  • Press seam to one side.

  • Layer quilt top, batting, and backing.

  • Quilt and bind as desired.

Let’s get to that blooper.

Since acquiring the Sashiko Machine from BabyLock, my goal has been to share project ideas to inspire you while using the machine’s function in unique ways.

Why not use it to create a textured binding!

It’s a wonderful idea, but you’ve been warned. It’s time consuming and unless you use a contrasting thread, it will be difficult to see.

Bloop. Blooper. Bloopered.

If you squint you can see the texture and if you close your eyes, you can feel the texture. Or click on the photographs in this post to see it.

This is how I did it:

  • Open and press the 9” x WOF fabric rectangle.

  • Starting on one end, create rows of Sashiko stitching.

  • Upon reaching the opposite end, refold the fabric rectangle and press.

  • Cut (3) 2 1/2” x WOF strips.

  • Attach binding using preferred method.

Go ahead and try this! The subtle texture is really beautiful in person. Looking for more Sashiko Machine projects? Check out what’s available at BabyLock by clicking HERE.

cut, sew, repeat…

the tattooed quilter

Cutie Coasters featuring Sashiko...

These Cutie Coasters are the perfect Galentine’s or Palentine’s Day gift.

And the best part, they’re scrappy and oh-sew beginner friendly!

Here’s what you’ll need to make your own:

  • (6) 2 1/2” x 6 1/2” Strips (Nine-Patch Prints)

  • (6) 2 1/2” x 6 1/2” Strips (Nine-Patch Background)

  • (4) 6 1/2” x 6 1/2” Squares (Half Square Triangle)

  • (4) 7” x 7” Squares (Backing)

  • (4) 7” x 7” Squares of Backing

  • Kitchen Bowl or Round Acrylic Template (At Least 5 1/2” Wide)

  • Olfa Pinking Rotary Blade and 45mm Ergonomic Rotary Cutter

  • Basic Sewing Supplies

  • Pencil or Fabric Safe Pen

  • Optional: Sashiko Machine from BabyLock

I used my Hearts Seasonal Basic from Riley Blake Designs as well as Dapple Dot (backing) and Confetti Cotton Solids — all fabric I had left over from my Love Note mini quilt.

Here’s how I made the Cutie Coasters:

  • Make (4) 6 1/2” x 6 1/2” Nine Patch blocks

  • Use the pencil of fabric safe pen and draw a diagonal line on the wrong side of the (4) 6 1/2” x 6 1/2” Squares (Half Square Triangles)

  • With right sides together, sew on the diagonal line

  • Trim 1/4” away from the diagonal sewn line.

  • Press away from the Nine Patch block

  • Repeat to make (4) Cutie Coasters

  • Add Sashiko or Quilting (optional — I used Aurifil 40 WT in Dove)

  • Layer the top, batting, and backing

  • Using the kitchen bowl or round acrylic template and the pencil or fabric safe pen, trace the circle, centering it inside the block

  • Sew on the circle, backstitching at the end (I used the same Aurifil thread)

  • Repeat on all (4) Cutie Coasters

  • Using the Olfa Pinking Rotary Blade and 45 mm Ergonomic Rotary Cutter, trim 1/4” (or so) away from sewn circle

  • Repeat on all (4) Cutie Coasters

  • Trim any excess threads

Ta-Da! Your first set of Cutie Coasters! You’re going to have a hard time just making one!

The Sashiko adds some organic texture that I just love! These Cutie Coasters are absolutely giving me Anthropologie vibes. Don’t you think?

When using the Sashiko Machine, you get to chose the stitch length and spacing. For this project I used the four for both. I also did not to tie off the ends of the Sashiko threads, especially since they were layered with the batting and backing and then top-stitched with the circle.

Looking for more Sashiko Machine projects? Check out what’s available at BabyLock by clicking HERE.

I hope you enjoyed learning more about Cutie Coasters. I had so much fun making them. The possibilities are endless!

cut, sew, repeat..

the tattooed quilter